
How To Make Millet Grain Spawn
Do you want to learn how to make your own Millet Grain Spawn? If so you've landed on the right page.
In this post, I will walk you through the step-by-step process of millet grain spawn prep.
What is Millet? – This is a small and round grain that is commonly used as birdseed.
This makes it an excellent grain for mushroom spawn as it has a huge surface area for you mycelium to grow across, expanding your spawn exponentially.
It is also relatively inexpensive and easy to find.
When we talk about Millet for growing mushrooms we are discussing unhulled millet.
Do not buy hulled or organic millet, I am going to say this multiple times in this post because it is very important. Buy this type of millet NOT this type.
Requirements
To prepare millet grain spawn, you will need the following materials:
Full shopping list for grain prep can be found on recommended equipment.
Pressure cooker (top pressure cookers for mushroom growers).
Millet Grain. – You need to be buying millet which hasn't been hulled, this is used in bird feed.
Step 1 – Soak The Millet.
First I measure out my millet into a mason jar. I usually fill half of the mason jar with dry millet.
When this is hydrated it should make 3 jars worth of grain approximately.
Next, pour water into the jar and allow the millet to soak in water for 24 hours.
I do this for 2 reasons, it germinates any bacterial endorses which may be on the outside of the grain which will then be destroyed during sterilization.
Alongside this, it also pre-hydrates the grains before boiling.
Doing this reduces how long you need to soak millet grain for in the next step.
Step 2 – Boil/Simmer.
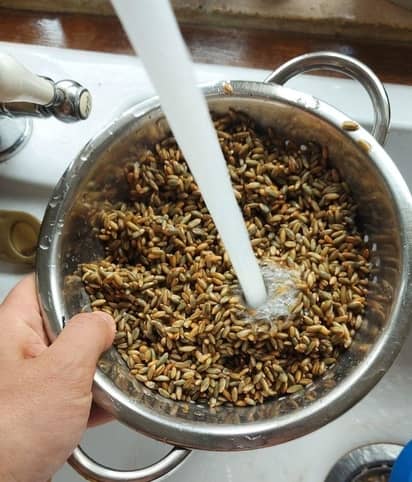
After 24 hours I strain the liquid from the millet and give it a quick wash under cold water to remove any debris.
This also helps stop the grains from sticking together as millet is quite starchy and sticky i find.
Next, I add the grain to a pot of boiling water and turn down the heat to allow it to simmer.
I usually add enough water to cover the grain plus an extra inch or two.
Staying around the pot, I constantly stir the mixture and regularly check to see if the millet is hydrated enough.
You are normally looking for the grain to have doubled in size and for the water to have absorbed.
Because I pre-soaked this should take about 10 minutes.

Step 3 – Strain And Dry.
Once the millet is hydrated I take it off the heat and strain it in a colander.
I then give the colander a few mixes and shakes to ensure that water is evaporating off all the grains.
You want to do this while the millet is still hot to allow the excess moisture to evaporate from the outside of the grain.
If you can get a colander with a large surface area like this then skip the next paragraph.
Next I get a baking tray and line it with foil then spread the millet kernels out onto the tin foil to give them as much surface area as possible for the water to evaporate.
I leave my millet here for around 30 minutes to dry.


Step 4 – Fill Your Jars.
Next I fill my jars up to about halfway with the millet, this will give me plenty of space for shaking the jars during incubation.
I like to spread the millet out across as many jars as possible, this will increases the chance of getting successful jars.
I put my gas exchange lids on the top and give the jar a light shake to try and break up any clumps.
If you get millet stuck on the side of the jar after this wrap up your jar in over gloves and lightly tap the sides on a surface whilst turning.
I wrap tinfoil around the lids and then secure them with a rubber band.
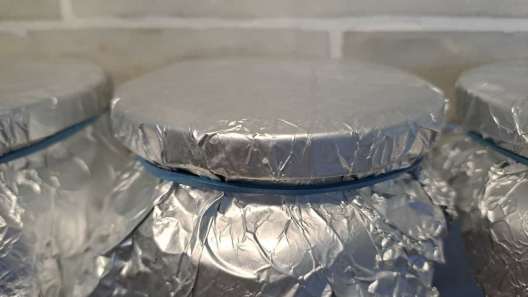
Step 5 – Sterilize Jars.
To ensure that our jars are free of contaminants, we need to sterilize them. The best way to do this is by using a pressure cooker.
If you don't have one OR don't want one checkout my post on how to grow mushrooms without a pressure cooker.
To sterilize in a pressure cooker I fill my pressure cooker up to the minimum line, this is normally about 2-3 mason jars worth of water.
Next I put my wire rack on the bottom of the pressure cooker then place my jars on top of it.
This stops the bottom of my jars from getting too hot and bursting the grains.
Place the lid on the pressure cooker, making sure the valve is in the sealing position.
Then I turn the heat on high until the dial reaches 15psi, once at 15psi I turn down the temperature to maintain.
Usually I run my pressure cooker for 90 minutes once it hits 15psi.

Once complete I turn off the heat and allow the pressure cooker to cool overnight.

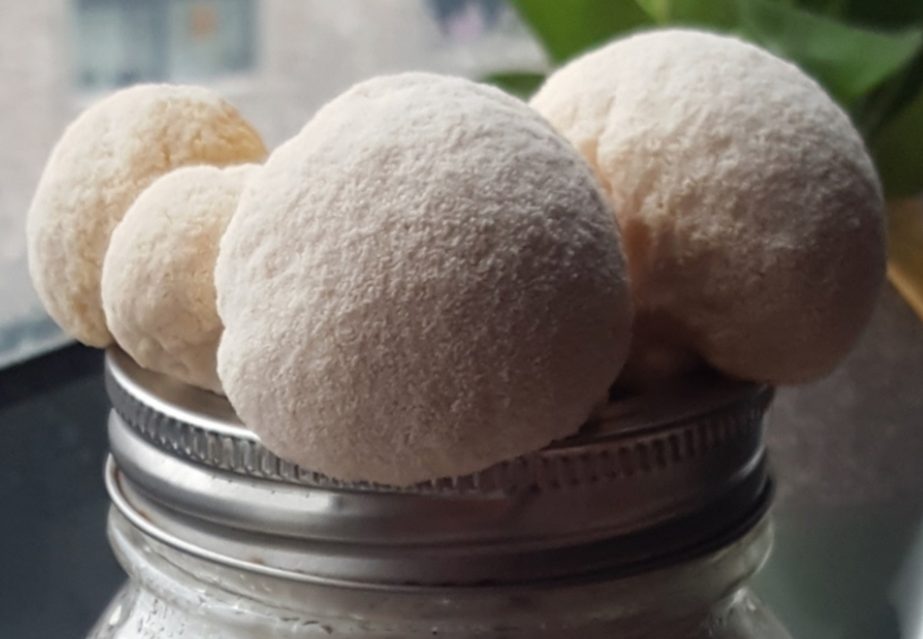
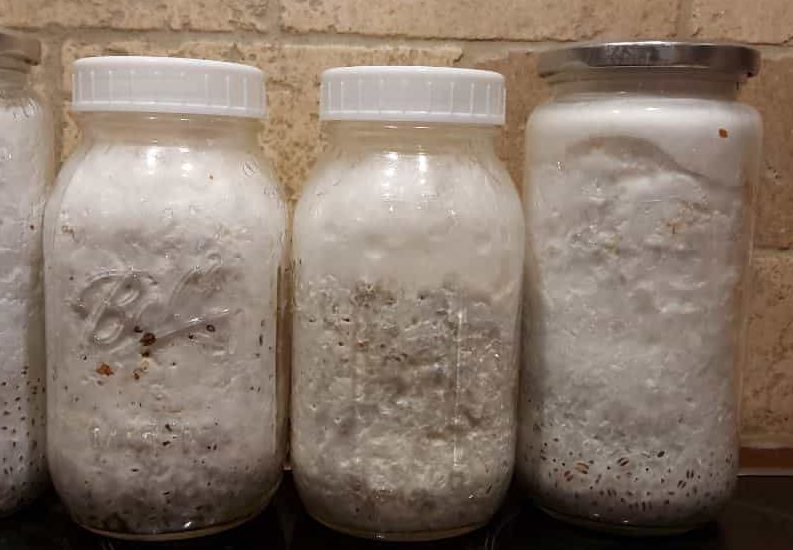
Here is my finished millet grain jar.
If the grains are a little bit wet on the edges, this is perfectly fine leave the grains to sit at room temperature for 12 hours or so and the grains will reabsorb the excess water.
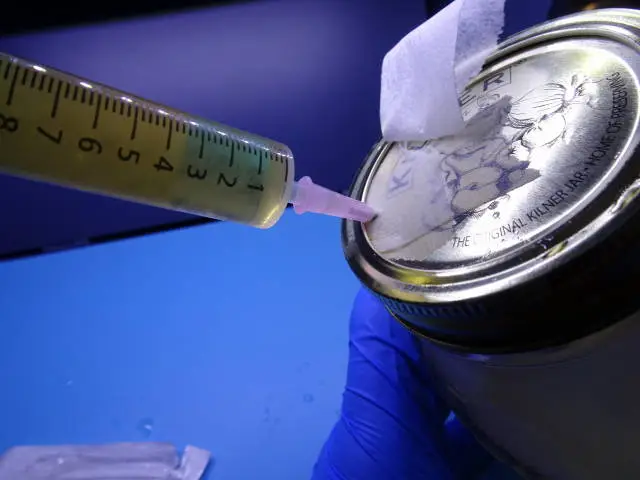
Inoculate.
I have created this guide “how to make grain spawn” which should cover all bases of inoculation in detail.
You will need a still air box or laminar flow hood as grain spawn can contaminate quite easily.

Conclusion
And that's it, you should now understand the main details such as how long to soak millet grain for spawn and how to prepare millet for grain spawn.
Next step is to start inoculating it with mycelium and growing mushrooms.


2 thoughts on “How To Make Millet Grain Spawn”
awesome thank you, I’m trying to blend rye berries with Millett
I am very to reading through your useful information,I wish I could be thought how to practically do this great job to earn my own money for living.i just joined FOARE mushroom farm in Liberia and I only learn how to plan mushroom but I also need your help on how to produce millets grain spawn please I am controlling 100 people to plan mushroom.May King Jesus bless us all