
How To Make Sawdust Blocks For Mushrooms.
Creating your own sawdust blocks for mushroom cultivation can be challenging, especially if you lack the space or funds for large pasteurisation steaming chambers. However, I have developed a technique that anyone can use at home with a few common tools.
So….
Here’s a step-by-step guide to making sawdust blocks and pasteurising them with a water bath. This method ensures perfect pasteurisation temperatures, allowing you to inoculate the blocks with grain spawn without needing a flow hood.
With this system, the results you achieve are directly proportional to the effort you invest.
Realistically, you can produce 12-18 blocks in a single day, but with more effort, you could increase this number. Your only limitation is the amount of substrate you can mix in the 20L bucket which becomes hard work fast!
Requirements
(I earn commission on anything bought through the links below).
Polypropylene Tote – Approx Internal Dimension 35cm W x 54cm L x 25cm H required, you need something around this size so the sous vide is deep enough but also so the sawdust blocks are not too deep and the filter patch is submerged.
Baking Tray Oven Rack – Approx Dimension 33cm W x 43cmL, you need something where the cross sections of the rack go across the width and not length ways.
Sous Vide or Bucket heater – Either should do but I use a sous vide as it can be controlled / tracked remotely, it can also cook meat!
Unlock the Secrets to Successful Mushroom Cultivation
Get our comprehensive instructions on mastering sterile techniques and growing mushrooms at home. Whether you're a beginner or looking to improve your skills, our ebook has everything you need to succeed.Learn More
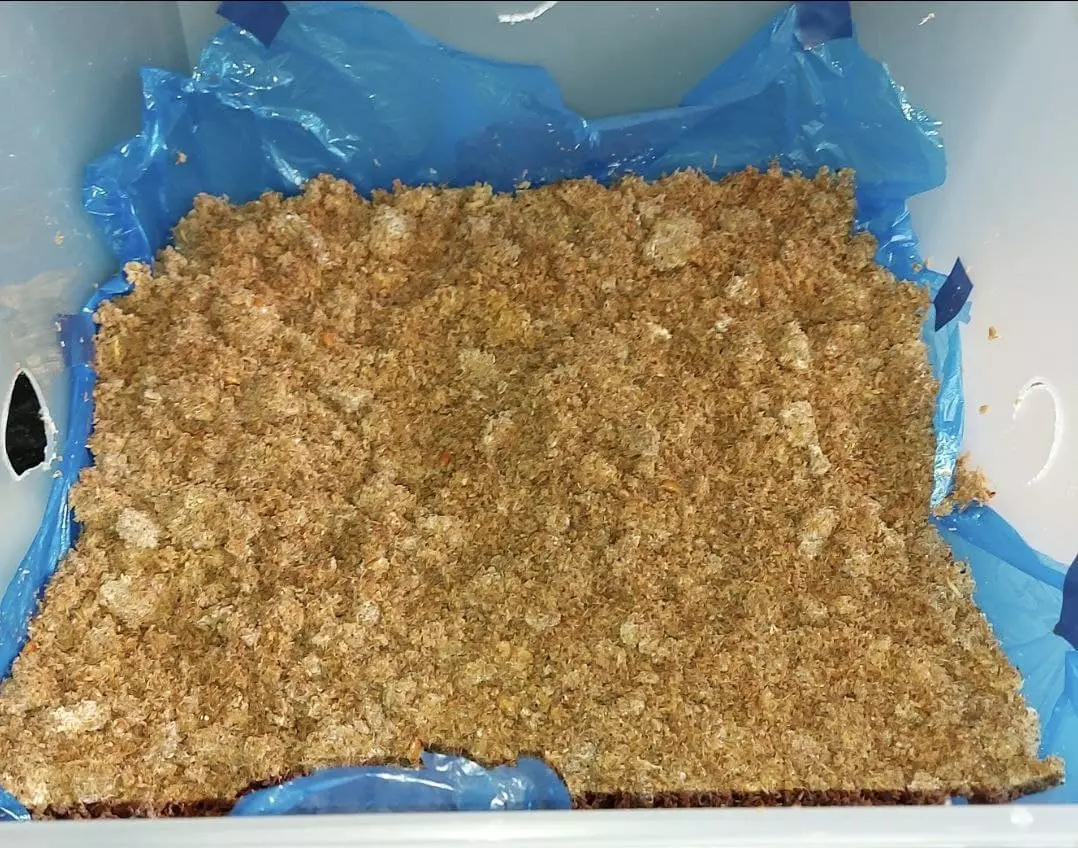
Step 1: Preparing and Hydrating the Substrate.
Measure out the hardwood fuel pellets you'll be using into a 20L bucket. For this example, I will be using 6 kg of pellets. This creates 9 sawdust blocks.
Next, hydrate the fuel pellets to 55% moisture content by adding 7.3 litres of water to the bucket.
Normally 50-55% hydration is needed depending on species and water content of your HWFP.
Mix the sawdust and water until the fuel pellets are completely dissolved and the sawdust is very fine.
Use the calculator below to adjust the water amount based on your specific quantity of pellets.
Sawdust Block Hydration Calculator
Step 2: Pack Sawdust Into the Filter Bags.
Begin by filling your filter bags with sawdust. Fill each bag until there is about four fingers of space between the sawdust and the filter patch. This space is crucial as it allows for grain spawn to be added to the bags alongside stopping the filter from getting wet during pasteurisation.
While the measurement doesn't need to be exact, ensuring consistent filling helps maintain uniformity in your sawdust blocks.
The sawdust in each bag should be level for the pasteurisation step, otherwise you won’t be able to submerge the blocks evenly in later steps.
Step 3: Setting Up the Tote Water Bath.
Next, place the sawdust blocks into a tote. The dimensions of the tote can vary based on your needs and available space.
However, you will need to figure out the exact setup for yourself to ensure it accommodates your sawdust blocks and water heater. Position the blocks so they fit snugly but leave enough room for the water heater.
I can get 6 bags pasteurised in one tote.
Step 4: Securing the Bags with an Oven Rack
Pull the filter bags through an oven rack. You can use alternatives like a fence, but an oven rack's straight lines help keep the blocks more manageable and maintain the bags' shape.
This setup is essential as it helps secure the buoyant sawdust blocks and keeps them in place during the pasteurisation process.
Step 5: Filling the Water Bath
Start filling the tote with hot water. Be careful as sawdust blocks are extremely buoyant and will float. As you fill the tote, you will need to weigh the blocks down to keep them submerged. The oven rack serves this purpose by securing the blocks and preventing them from floating.
Fill the water up to the point where the sawdust is completely submerged.
Step 6: Pasteurising the Sawdust Blocks
We will use a sous vide to heat the water. A sous vide is a cooking tool used for precise temperature control, typically used to cook meats. This precise control makes it perfect for maintaining the ideal pasteurisation temperature, which is between 140°F (60°C) and 170°F (77°C). If a sous vide is too expensive, a bucket heater is a good alternative.
Once the sawdust blocks are fully submerged, set the water heater to within the pasteurisation range of 140°F to 170°F (60°C to 77°C).
You can then add further sawdust blocks into the water bath recycling the water.
Step 7: Seal The Bags
Insert a meat thermometer into the centre of one of your sawdust blocks and set it to alert you when the core temperature reaches the pasteurisation range (discussed below).
Next, fold the top of the bags over itself horizontally, then in half vertically and put a re-usable ziptie over this fold and seal it tightly (this should also be done around the one with the thermometer inside).
When the thermometer alarm goes off, set a timer for 60 minutes to allow the sawdust blocks to pasteurise. Once the timer ends, remove the blocks and let them cool.
Step 8: Inoculation
For inoculation, remove the zip tie and unfold the top of the bag. Quickly add your grain spawn, then reseal the bag with the zip tie.
Finally mix the sawdust and grain spawn into each other using your hands.
Conclusion
By following these steps, you can effectively scale up your sawdust block production at home without the need for expensive and space-consuming pasteurisation chambers.
This process ensures that any contaminants are effectively killed, while beneficial microorganisms are preserved, creating an ideal environment for inoculating with grain spawn without a flow hood.
This method leverages common household items and precise temperature control tools to achieve professional results.
Happy cultivating!
You may also like

Yes, colonizing grain spawn needs a gas exchange from the jar. The Mycelium will suffocate, stall or die without it. Alongside this, […]


