
How To Pasteurize Mushroom Substrate.
Pasteurization is a method employed by many gourmet mushroom growers and is often the primary method used for low tech mushroom farms.
This is because pasteurization has some benefits over sterilization if used in the correct context.
Often sterilization is used for creating grain spawn and pasteurization is used for preparing bulk substrates.
Please checkout my newer post on creating and pasteruizing sawdust blocks.
What is Mushroom Pasteurization?
Pasteurization is a method used to reduce the number of microscopic competitors (contaminants such as trich) inside a substrate before adding in inoculated grain spawn.
Pausterizaiton also allows beneficial bacteria to remain within the substrate which then fights off other competitive contaminants which may attempt to multiply in the substrate.
This whole process helps by giving the mycelium a competitive advantage to expand first over the substrate before harmful contaminants can get a foothold.
You can find plenty of substrate pasteurization teks out there but in this post, I am going to cover 3 methods that are possible at home.
How Long Does it Take to Pasteurize Substrate?
I have created a table on how long it should take to pasteurize substrate using each method described above.
Alongside this I have added the temperature each mushroom pasteurization technique requires.
| Substrate Pasteurization Tek. | Time. | Temperature. |
| Cold water Hydrated Lime Pasteurization. | 12-24hrs | Cold (not important) |
| Hot Water Pasteurization. | 1-2hr | Water Tempreture 150 – 180F (62-82c) |
| Oven Pasteurization. | 1-2hr |
Oven Temperature setting 390-400F (200-210c). Centre of susbtrate 150 – 180F (62-82c) |
Cold water (Hydrated Lime) Pasteurization.
Cold Water Hydrated Lime Pasteurization has become my favourite method for preparing bulk substrate.
The whole procedure is simple, it doesn't require constant monitoring, and; I feel it is more effective at preventing contamination as whilst you are working with the substrate in the open air (such as while mixing grain spawn), it still has anti-contamination properties.
However, this technique cannot be used for a supplemented bulk substrate such as master's mix.
Using Hydrated Lime (calcium hydroxide) for mushroom pasteurization works by raising the PH of the water with which you are hydrating your mushroom substrate.
This PH level is inhabitable for the contaminants which compete with mycelium whilst the mycelium can survive and thrive on the higher PH substrate.
Alongside this, Hydrated Lime Pasteurization has been shown to improve yields in mushrooms that can tolerate higher PH levels (such as Oyster mushrooms)[1].
Requirements
All required equipment is listed on my recommended equipment page.
Step 1 – Get prepared.
Put your rubber gloves on, facemask and eye protection, then get all of the required items ready and place them into a well-ventilated room OR outside.
It is a chemical that can cause damage to your eyes, skin or lungs if proper precautions are not taken.
Note: Please ensure you are careful with the hydrated lime before beginning.

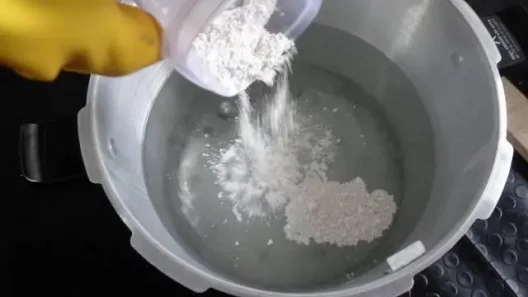
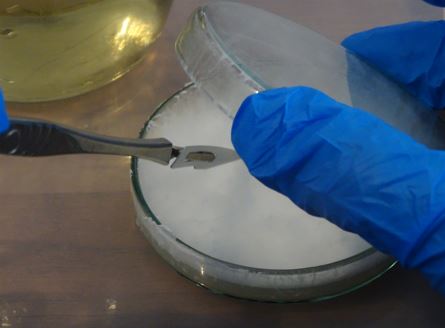
Step 2 – Create Hydrated Lime Bath.
Fill your bucket up with the amount of water you wish to use. I will be using about 4 litres so I will need 8 grams of lime to add to the bucket.
Note: The lime to water ratio is around 2g Lime to every 1L of water.
Shake out the lime into the water and stir it to mix it evenly.

Step 3 -Test the PH level (optional).
Now that the lime bath has been prepared take a small jug of the solution and test it with your PH testing kit.
You are looking for a PH of 11-13 approximately to pasteurize mushroom substrate correctly.
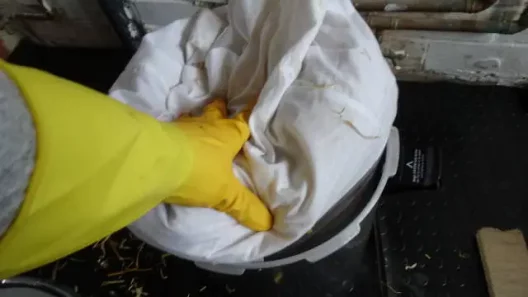
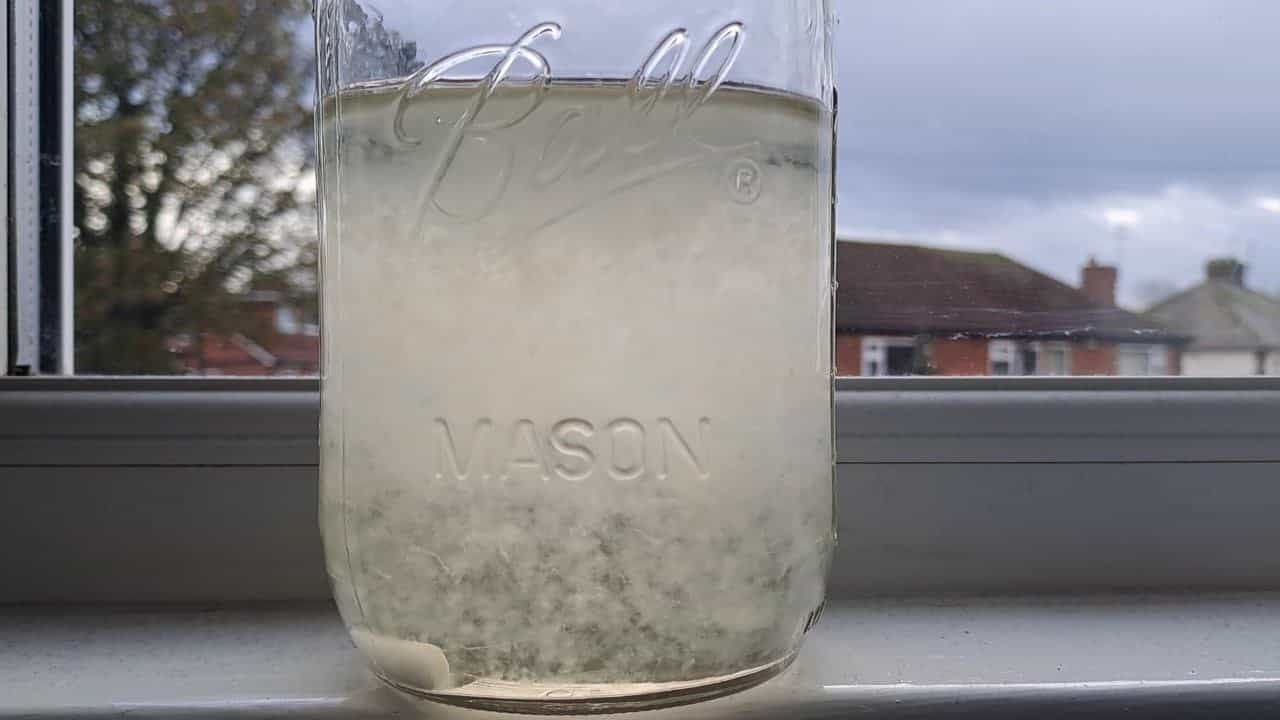
Step 4 – Add substrate to Lime Bath.
Place your substrate into the lime bath and mix the substrate evenly until it is fully soaked.
Some people like to place their substrate into an old pillowcase or net bag to keep it contained and for draining purposes afterwards. I am happy with just squeezing the lime solution out until field capacity (when it is ready) using gloves so I don't bother.
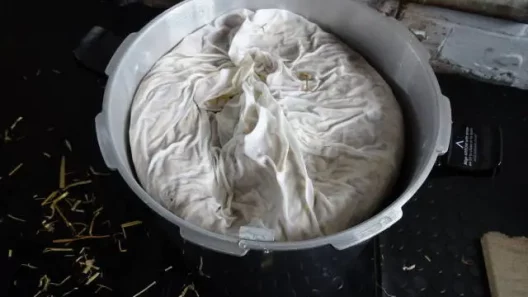
Step 5 – Leave overnight.
Leave the substrate to soak overnight (around 12-24 hours). I normally just leave the bucket with the lid on overnight and forget about it.
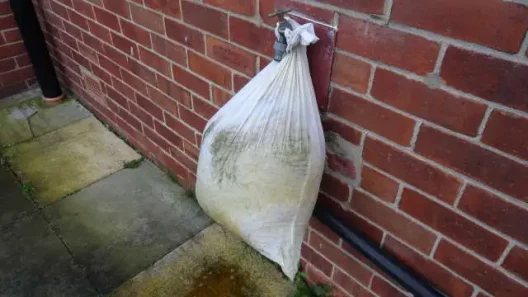
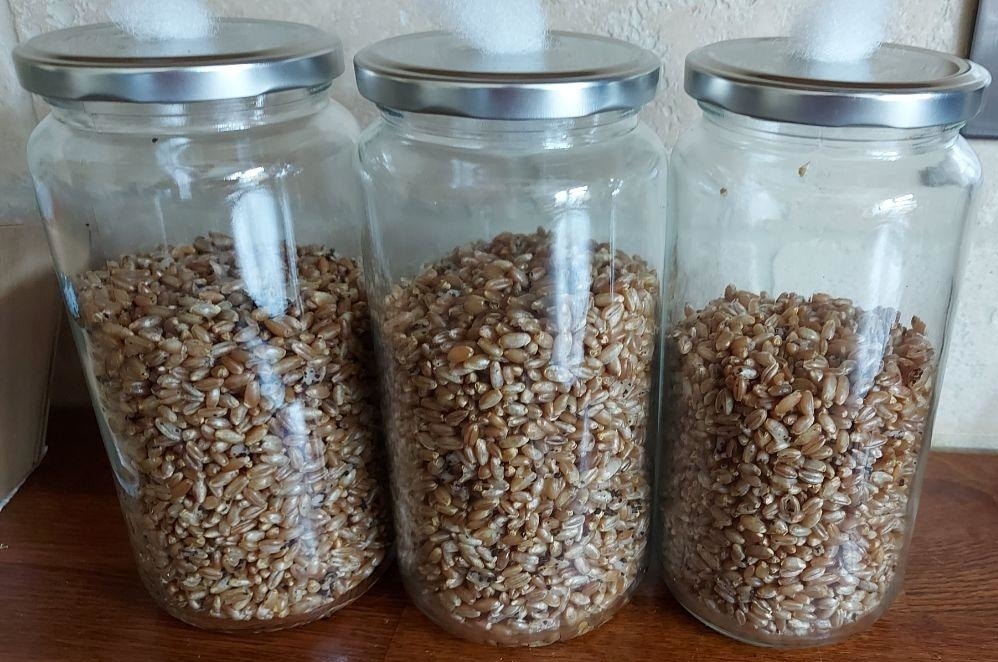
Step 6 – Remove substrate.
I normally just take gloveful of the substrate out and squeeze them until field capacity then place the handfuls into a growing vessel.
If you have used a net bag or pillow then just hang this outside to drip dry for a couple of hours. Standing on the pillow case can help speed this up.
Step 7 – Drain Liquid.
Pour the remaining liquid down a waste drain to get rid of it. I like to put a cover over the drain first to avoid bits of wood going into the drainage system.
Well done you now have Hydrated Lime pasteurized substrate which you can inoculate with grain or sawdust spawn!
Hot Water Pasteurization Using Cereal Containers.
It is possible to use polypropylene cereal containers to pasteurize bulk substrate on the stove. I like this technique in particular for the following reasons:
- The substrate is contained until use, which is great for home mycologists.
- It is possible to get the correct hydration levels before pasteurization.
- Precise temperature control.
Requirements
All required equipment is listed on my recommended equipment page.
Step 1 – Substrate Preparation.
-
Begin by filling the cereal containers with your bulk substrate. In this instance, I’m using 1L of substrate, but you should modify this according to your needs. A little tip: I find that aspen reptile bedding works well as it colonizes quickly.
-
Pour 900ml of hot water into the cereal containers and let the substrate soak for 1-2 hours.
-
Now, let's drain off any excess water. I usually do this by placing a jar inside the container and applying pressure. Continue this until no more water comes out of the substrate, then dispose of the water in the sink.
-
Then, wipe any substrate that's found its way to the edges of the containers back down into the main bulk.
Step 2 – Container Preparation.
-
Place a piece of tin foil over the top of one container.
-
Insert the thermometer probe through the tin foil into the substrate, making a hole in the foil. I usually remove the foil (keeping it attached to the probe) and push the probe deep into the bulk substrate before placing the foil back on top.
-
Place foil on top of all the other containers and secure them all with elastic bands.
-
As an extra precaution, I like to add a second piece of foil over the hole where the thermometer is, to maintain sterility and prevent steam from escaping.
Step 3 – Substrate Pasteurization.
-
Firstly, take a large pot and line the bottom of it with jar lids or a similar item. I use jar lids because they’re readily available and they do the job perfectly.
-
Gently place the containers on top of the jar lids, ensuring stability.
-
Fill the pot with water until it reaches about 1/3 of the height of the substrate in the containers.
-
Crank up the stove to full heat and allow the water to boil. I usually place something on top of the containers to prevent them from moving around too much due to the bubbling water.
-
Set your thermometer alarm to 140°F or 60°C.
-
When the alarm sounds, switch off the stove and set a timer for 60 minutes.
-
Re-set your thermometer alarm, this time to 170°F or 76°C.
From my experience, the temperature inside the substrate should rise to around 165°F and then slowly decrease to 140°F within the hour, thanks to the hot water and the insulation provided by the plastic containers. It's wise to stay nearby and monitor this the first time you try it. If the temperature exceeds 170°F, I remove the containers, allow them to cool a bit, and then place them back into the water. If the water gets close to 140°F, don’t hesitate to turn the burners back on to maintain the heat.
After the 60 minutes are up, your substrate is essentially ready and can be utilized once it has cooled down.
And there we have it! A straightforward and effective way to prepare and pasteurize substrate for your mycological endeavors. I hope you find success with this method and that your mushrooms thrive. Happy cultivating!
Hot Water Pasteurization In Pot.
Hot water can be used to pasteurize substrate in a similar way we cook our food (boil) before eating it.
Mycelium also benefit from their food going through this heating process.
I find this method slightly more work than Cold Water pasteurization because you have to monitor the heat and then clean up pans afterwards, something I hate.
Alongside this, you have to allow the pot to cool before using your substrate as the moisture content will evaporate if you remove it whilst still hot.
Although if you use a sous vide as discussed in my post using a sous vide for mushroom cultivation it takes away a lot of the work.
Requirements
All required equipment is listed on my recommended equipment page.
Step 1 – Get prepared.
Get all your items together around a stove. Fill your cooking pot with plenty of water so it can simmer for at least 2 hours without running dry.
Step 2 – Heat Water.
Heat the water until boiling then reduce the temperature until it is stable at 65-82C (150 – 180F).
It can take some time to work out what setting your stove needs to be on to remain within this correct range, but eventually you should be able to work this out using the thermometer.
Step 3 – Submerge the Bulk Substrate.
If you are not using a net bag pour your bulk substrate into the water and mix it around equally.
If you are using a net bag; then place the substrate inside of it then submerge it into the pot. Next, put something heavy on the top of the substrate to ensure it remains submerged in the water.
Make sure to maintain the temperature between 65-82C (150-180F) from this point on.
Step 4 – Wait.
Leave the substrate submerged in the hot water for around 1 hour.
Ensure that the temperature of the water remains within range by checking it regularly with a thermometer.
Keep an eye out so the water doesn't run dry.
Step 5 – Allow to cool.
Allow the pot to cool down before removing your substrate; make sure to squeeze your substrate to field temperature before using it.
If you are using a net bag then remove it and place it on a strainer allowing it to cool to room temperature.
Pasteurization tek Complete! Now you can use this substrate (immediately or pretty soon) to sow grain into and continue the mycelia life cycle.
Oven Pasteurization.
Oven pasteurization for mushroom substrate is something I've used many times with great success!
It's a pretty simple technique, and there is definitely less tidying up to do than the other two methods.
However, it is less reliable than the other two methods as air is a bad conductor of heat in comparison to hot water.
Some people claim this is a bad substrate pasteurization tek however in a home environment it can definitely be used when nothing else is available.
You can perform it by following this Oven Pasteurization guide.
Requirements
All required equipment is listed on my recommended equipment page.
Step 1 – Get prepared.
Collect all the items in the list together around your oven. Preheat your oven to 390-400F (200-210c).
Step 2 – Hydrate substrate & Prepare For Oven.
Boil a kettle, then pour the water over the top of your substrate to soak it thoroughly.
Next, let it cool for a few minutes.
With rubber gloves on, squeeze out the water so the substrate is hydrated to a level wherein it is not dripping when you hold it in a closed fist.
Place the substrate into your turkey tray, then place tin foil over the top of the turkey tray so the substrate within is fully enclosed and water vapor cannot escape.
Step 3 – Place in Oven.
Place the turkey tray into the centre of the oven and allow it to pasteurize for 30 minutes to 1 hour in the oven.
Step 4 – Check Temperature.
After 30 minutes you should briefly open the oven to test the temperature of the centre of the substrate.
Do this by opening up the tinfoil and checking the temperatures of the substrate with a thermometer.
Again, the temperature in the centre should be 65-82C (150 – 180f). If it is, great! turn off the oven.
If it hasn't reached that temperature yet, leave it for a further 30 minutes.
Step 5 – Leave to cool.
Once the time is up, turn the oven off, and leave the substrate to slowly cool down for a few hours.
Don't remove it straight from the oven as this will cause hydration issues and condensation on the top of the tin foil. It must cool down slowly.
Once the Oven and turkey tray is cooled remove it from the oven and use your bulk spawn as soon as possible.
Conclusion.
Using one of these three guides you should now know how to pasteurize a bulk substrate for growing mushrooms at home.
From here you need to inoculate the substrate with grain spawn or sawdust spawn to expand you mycelium for fruiting.
If all these steps seem to much hassle checkout my PF-Tek lions mane mushroom guide which shows you how to grow mushrooms using jars and only a liquid culture syringe.


4 thoughts on “How to Pasteurize Mushroom Substrate.”
How can I supplement cold pasteurized sawdust Substrate
Yeah how can I supplement cold pasteurized sawdust with wheat/rice bran? Thanks.
Hello,
Which is the best and easiest way to pasteurize substrate for lion’s mane inoculation?
Cold water with ash or lime would be efficient?
I mean hardwood pellet substrate.
I have lion’s mane on agar or LC (LME).
Lime is good I use this.