
Introduction
In this post, I am going to discuss a step-by-step technique to grow Reishi mushrooms at home. Fortunately, Reishi mushrooms can be grown in the iconic Monotub setup which means that this mushroom is a simple low-cost accessible project for a home grow.
Reishi can handle the high CO2 environments inside a Monotub and grows in an antler-like fashion from the base substrate like a forest. So if you are wondering can Reishi mushrooms be grown indoors? The answer is YES!. For this grow I will be using be using my 4 tier draw system as my Monotub.
The main thing you will have to worry about is temperatures, which mean for people in the northern hemisphere you will have to wait until spring/summer to grow them.
Growing Reishi Mushrooms Using a Monotub.
Requirements
Pressure Cooker (my recommendations).
Rye Grain (or any other grain).
Wood-Based substrate (Aspen, beech,oak, coco coir, Cardboard, Hardwood fuel pellets).
Jars (prepared with the following gas exchange method).
Monotub (I will be using one of these for my tub).
Agar or Liquid Culture (I will be using BRF Agar which I teach you how to make here).
Prepare Grain
Note: This section is a brief overview of how to prepare grains and sterilize jars, if you need a pictorial version please see this post here.
Step 1: Rinse and wash through grain until drained water is no longer discoloured. This will remove debris from the surface of the grain, preventing the grains from sticking together in the jar.
Step 2: Soak the Grains in water for 12-24 hours. This is an optional step, it is argued that this will germinate endospores which can survive the pressure cooking process however I perform this step to allow the grain to soak up water without the need for a longer boil (which risks bursting the grains).
Step 3: Cook the grains for 20-30mins. This step is done to allow the water on the outside of the grains to evaporate when the grains are strained.
Step 4: Drain off water from grains in a colander and spread them out on an oven tray or similar surface so excess moisture can evaporate off the kernels until they are dry to touch.
Step 5: Load the Rye grain into mason jars and sterilize at 15psi for 90 minutes
Sterilize Jars.
Step 1 – Add a couple of pints of water into the pressure cooker (fill to your cookers minimum).
Step 2 – Place tinfoil over the top of all the lids and secure with elastic bands.
Step 3 – Place all the Jars inside the pressure cooker elevated from the bottom (I use the steaming rack).
Step 4 – Sterilize at 15PSI for 90 minutes. First, get the pressure cooker up to 15PSI using full temperatures. After 5 minutes turn down the heat but ensure the pressure is maintained. If done correctly excess steam should not be released from the cooker but the pressure will be maintained.
Step 5 – Leave the pressure cooker to cool overnight.
Innoculate.
This section will require a still air box, if you don't have one I have created a post here about how to make a still air box.
Step 1 – Lightly spray down the inside walls of the Still Air Box with soapy water.
Step 2 – Place sterilized jars, Liquid culture (or agar plates) and other utensils inside the Still Air Box, wiping each down with alcohol before putting them inside.
Step 3 – Flame sterilize your Liquid Culture needle tip outside of the still air box until glowing red using a small butane torch like this.
Step 4 – Bring the Liquid Culture syringe back into the still air box, wait a few seconds for it to cool down the inject 1cc of Liquid culture into each jar.
Incubate.
Place the jars on a shelf at room temperature until they are fully colonised.
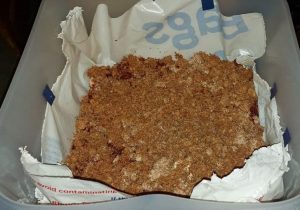
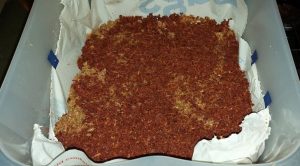
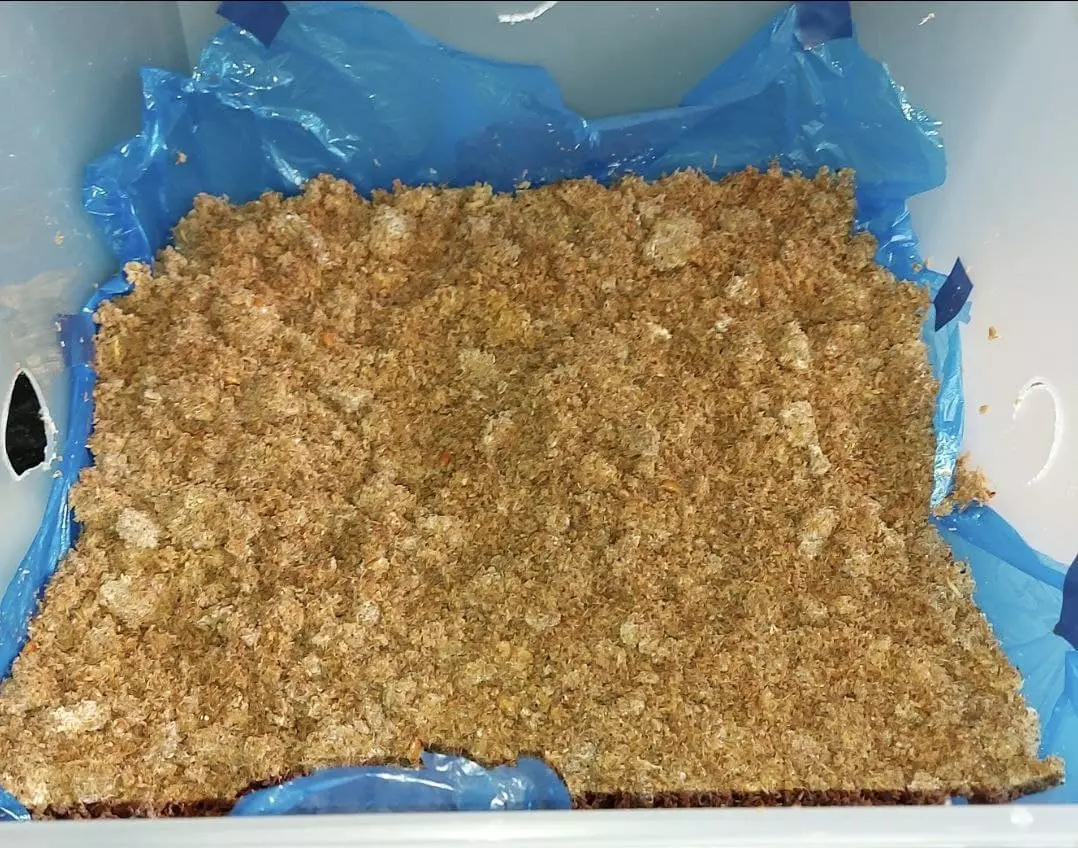
Prepare Bulk Substrate.

Place substrate into a large pot (I will be using a pressure cooker) then add enough water to the pot so that it can heat for around 2 hours without running dry.
Pasteurize the substrate by heating the substrate/water mix to temperatures between 150 – 180F (62-82c), this can be checked using a digital thermometer.
Once this temperature is reached maintain it for 1-2 hours.
Leave the substrate to cool for a few hours once complete.
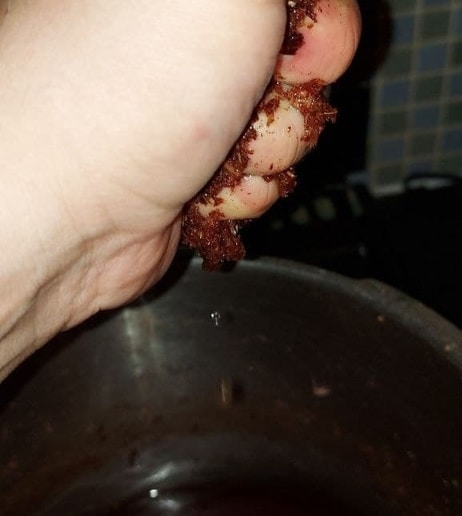
Finally, squeeze any excess moisture out of the substrate so that only a few drops of water drips from it when you squeeze it hard.
Then use the substrate as soon as possible.
Alternatively, you can prepare your substrate in line with one of the methods I have written about in a post titled “how to pasteurize mushroom substrate top 3 methods for home cultivation”.
Spawn to Bulk
Set up your monotub with the inside lined with a plastic sheet and the fresh air exchange holes taped over (with normal tape).
Put on some rubber gloves and a face mask, wipe down you surfaces, monotub and hands with alcohol.
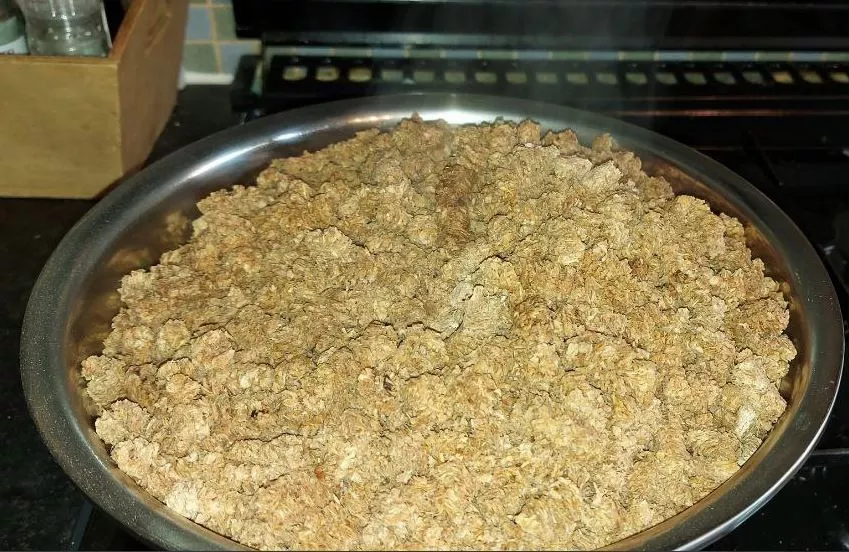
Spread a layer of the bulk substrate along the floor then spread out your spawn then your substrate in layers like a lasagne.
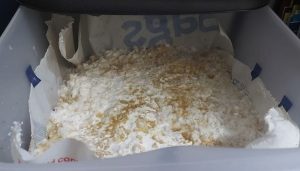
Finally, put the lid on the box and put it away somewhere at around room temperature for around 14days. Eventually, it will look completely colonise as shown in the next section.

Fruiting.
Once 100% colonised, place the monotub into temperatures of around 65 – 75 (18-24 deg C).
Introduce fresh air by removing the tape from the holes and plugging them with polyfill or micropore tape (my tub is a drawer system like this and i just open the drawer slightly when ready).
The top holes polyfill should be relatively loose and the bottom polyfilled hole should be tight using more polyfill or micropore tape.
Leave the tub alone for a further 14 days. It will fully colonize white.
Next, the tub will turn a horrible yellow/brown colour this is fine just ensure that the substrate doesn't dry out by spaying it heavily once a day with a fine mist.
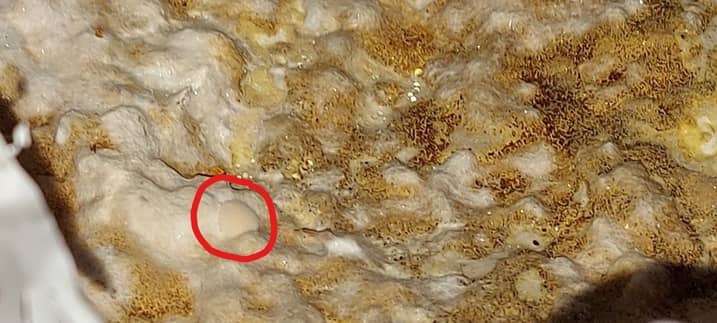
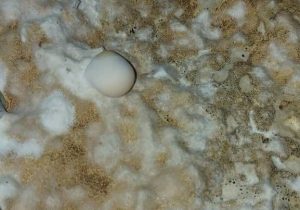
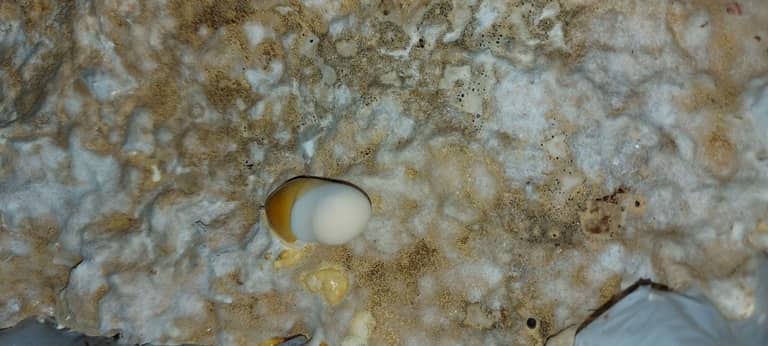
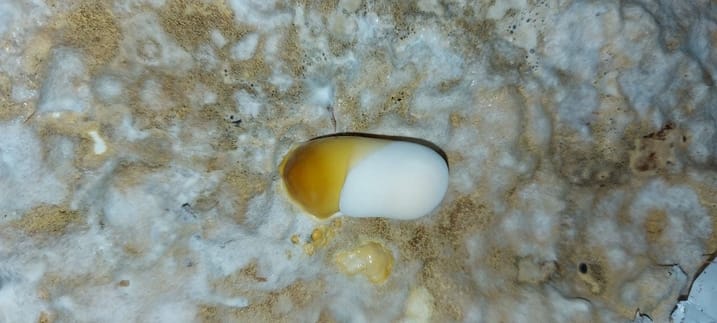
Eventually, pins will begin to appear from the substrate.
Finally, full fruits will develop this can take up to 30 days. When the fruits look large enough that you are happy with them then you can harvest.

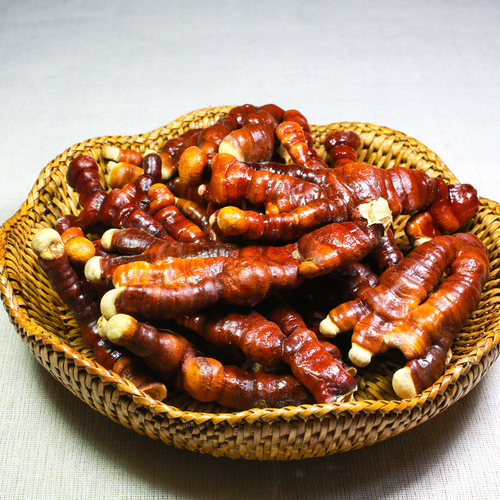
How to Harvest Reishi Mushrooms?
To harvest Reishi Mushroom cut the fruit off from the bottom of the stem using a sterilized knife.
Alternatively, you can twist and pull the mushrooms of the substrate but i wouldn't do this with Reishi as its quite dense and will rip up the substrate.
Next, store the fruits inside a paper bag in the fridge (or something else which won't create condensation).
Conclusion
There you go, how to grow Reishi mushrooms at home using a monotub.
Its actually pretty easy but you have to be patient as the fruits are quite dense and can take a while to develop. Alongside this if you live in the northern hemisphere you will probably need to time your grow for the summer or hotter months.


