
No Pour Agar Tek.
Introduction
No-pour agar tek is a beginner-friendly method for preparing agar plates. This technique significantly lowers the risk of contaminating the agar culture, as it minimizes exposure to unsterile environments before inoculation.
I've frequently used this method to create agar pots for cloning and culturing mushroom mycelium. It involves using polypropylene pots instead of traditional petri dishes, which are reusable. This aspect, in particular, makes it one of my preferred techniques.
Before we get into the how-to guide on no pour agar tek let me first just go over the pros and cons of this technique:
Advantages to no pour agar:
- Less opportunity to contaminate due to lids not being opened for too long (or at all if you use an injection port).
- It's cheap to put together a container for no pour agar as you can use anything from mini condiment tubs to recycled jam jars, these are also reusable.
- You don't need a laminar flow hood or still air box at all if you are using a syringe for inoculation.
- Doesn't require wrapping the container in parafilm.
- Pots are re-usable whereas most agar plates are one and done and cant be sterilized.
Disadvantages to no pour agar:
- Can’t use petri dishes for no pour agar.
- Limited visibility of the plates in comparison with using Petri dishes.
- Less control and space while trying to isolate cultures.
- Less expansion space for mycelium.
You can use the following recipes to produce no-pour agar tek:
Light Malt Extract Agar Recipe.
For this guide, we are going to be using 5g Agar, 7.5g Light Malt Extract and 250ml of water.
This should make enough to fill more than 10 condiment takeaway pots.
Guide – How To Make No-Pour Agar.
Requirements
Find the shopping list of this post on our recommended equipment section here.
- Pressure Cooker. – This will be used to sterilize the agar before inoculation.
- Agar.
- Light Malt Extract or BRF or PDA. – Needed for the mixture.
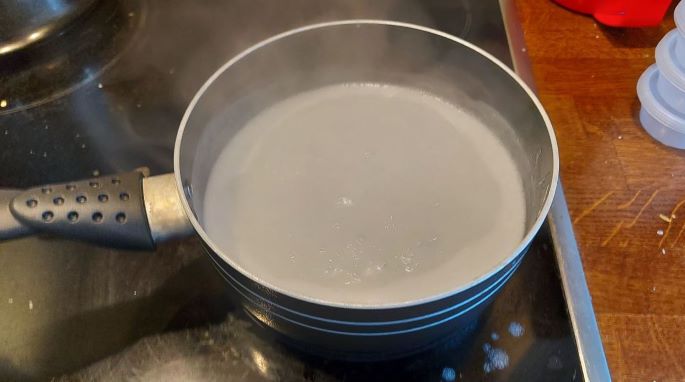
Step 1. Mix The Agar
I place 5g of agar and 7.5g of light malt extract (LME) into a saucepan.
Next, add 250ml of water to the mixture and stir until mixed well.
Then I heat the mixture until the agar and light malt extract has completely dissolved, then add a few drops of food colouring.
Keep stirring until the mixture begins to bubble and thicken up.

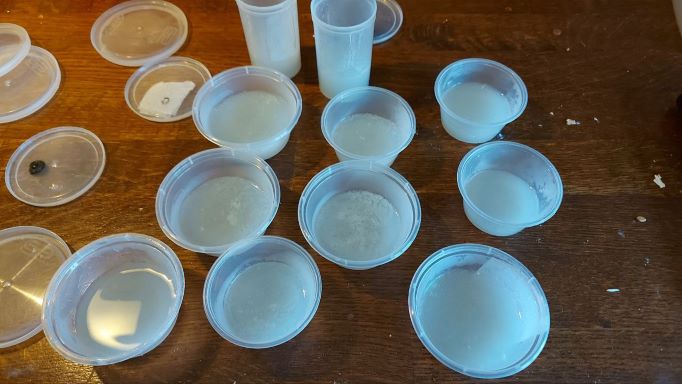
Step 2. Pour The Agar.
Pour the agar into your containers, and wipe away any excess agar which may be stuck on the sides.
You just want about 2cm deep of agar in each pot it doesn't have to fill half the pot or anything.
You want to use as little agar as possible inside each pot.
Allow the Agar to cool in the plastic containers and move on to the next step.
Step 3. Prepare Lids.
You have a few options for preparing your lids, one is simple and requires only micropore tape, and the other requires inserting a self-healing port into the top of the lid.
A). Put a small hole in the lid big enough to get a liquid culture syringe inside then tape this over with two layers of micropore tape.
This is the technique I usually use as it's really simple and I don't really hold onto my mycelium long-term so it works fine.
B). Put two holes in the lid, one which has micropore tape over it and the other has a self-healing injection port like this installed.
C). No hole in the lid. If you are going to be doing agar transfers then there is no need to put a hole in the lid.
D). Use a screw to lid but looses the lid slightly and tighten it when remove them from the pressure cooker.
I have plenty of condiment agar plates with no holes in the lid and they actually last the longest as they don't dry out.
Finally, wipe any excess condensation off from inside your containers and place the lids on the containers.
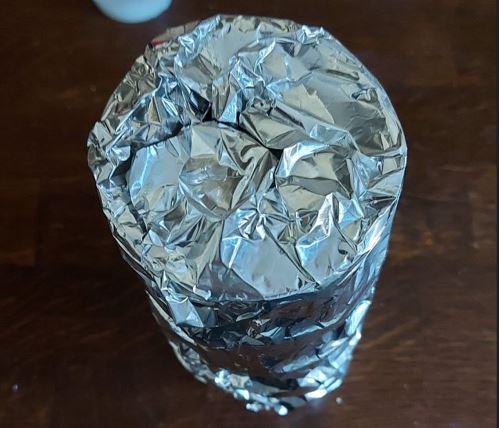
Then, stack the containers then wrap them in tin foil.
I do this by placing them on their side and then rolling the tin foil around stacked containers like a burrito.
Others like to just wrap the lids with tin foil however so choose whichever one fits you.
Try not to stack more than 3 pots at a time or else you won't fit them all inside the pressure cooker.
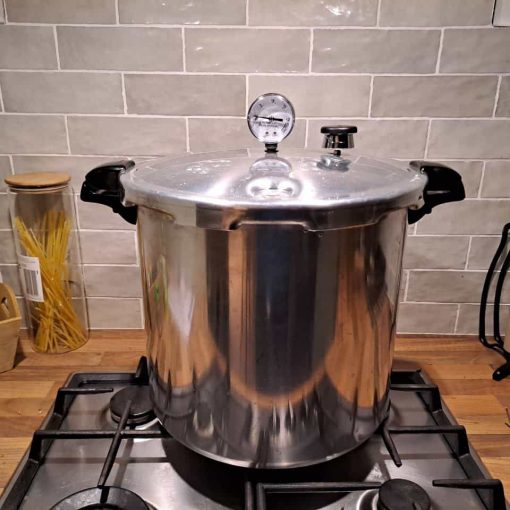
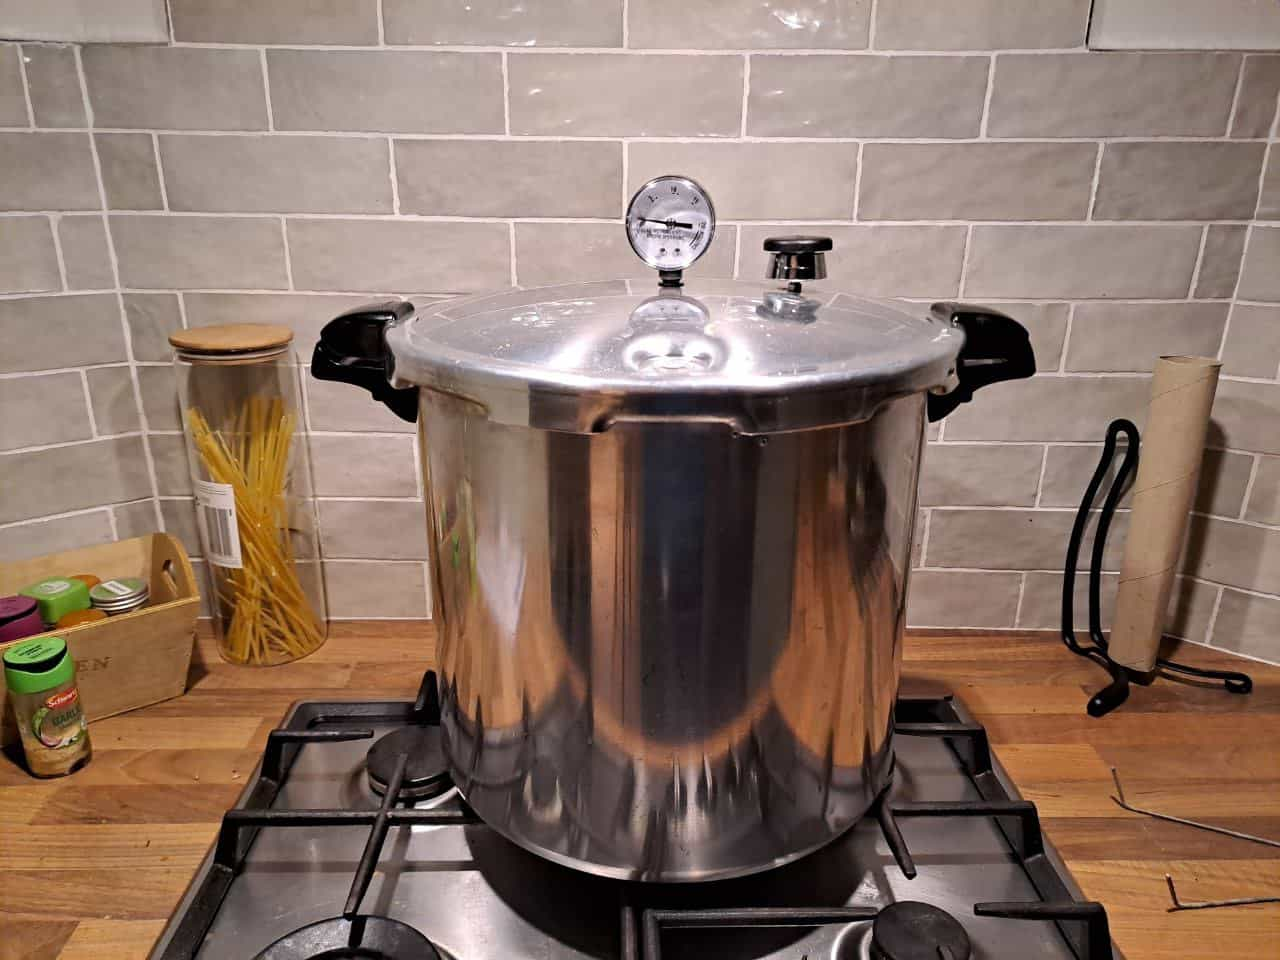
4. Sterilise The No Pour Agar.
Place all of your agar containers into the pressure cooker, make sure they are placed on the rack and not touching the floor of the pressure cooker.
Add the minimum amount of water to the pressure cooker then seal it.
Turn the heat on high until your pressure cooker begins to whistle or hiss at 15 psi then turn the heat down slightly to maintain pressure.
Leave the agar to sterilize for around 20 minutes or so at 15psi.
5. Sterilize.
Next, you have to wait for the pressure cooker to cool down organically.
Usually, I just leave my pressure cooker overnight and continue in the morning.
Carefully remove the pots from the pressure cooker.
If I am using my agar pots straight away then I move them into a still air box and remove the tin foil from the outside.
If I want to store them I normally leave them inside the tin foil in a fridge.
Or if I want to take them out of the tin foil place them into a small box (like a closed shoe box) which doesn't have much air flow to it at all.
Then remove them when I am ready to use them.
Conclusion.
The main reason I use no pour agar is that it's so simple and there are fewer opportunities for contamination.
If you are just looking to clean up cultures or expand some mycelium to use with grain spawn it's a pretty effective technique.
Beginners can buy a liquid culture syringe and then inject it through the little hole in the lid without ever opening the lid after sterilization!
Often I can get away with inoculating no-pour agar with liquid culture without a still air box or laminar flow hood if I work carefully and fast.
That's pretty handy if you ask me.
