
Introduction
Light Malt Extract (LME) Agar is a nutritious growing medium which is often used in laboratories for the isolation and enumeration of yeasts, moulds and fungi.
This makes it an excellent medium for the home mycologist too, especially since the recipe is easy to put together and all of the required ingredients are widely available. For Agar work it is important to have a pressure cooker and still air box.
In this post, I am going to present instructions on how to prepare Light Malt Extract Agar for growing mushrooms and mycelium.
What is the Light Malt Extract agar recipe?
The Light Malt Extract (LME) Agar Recipe is 30G Malt Extract, 20G Agar, and 1L Distilled Water as stated on the FDA website for general microbiology.
Now this is going to create quite a lot of plates so here is a table which breaks this down into a realistic scale for home mycology:
| Light Malt Extract (LME) | Agar | Water | Plates |
|---|---|---|---|
| 30g | 20g | 1L | 40 |
| 15g | 10g | 500ml | 20 |
| 7.5g | 5g | 250ml | 10 |
| 3.75g | 2.5g | 125ml | 5 |
How to Make Light Malt Extract Agar for Mushrooms/Mycology
Requirements
A Full shopping list can be found on our recommended equipment section.
Pressure Cooker – I have a detailed post on my top pressure cookers for growing mushrooms.
Light Malt Extract – This is an extract taken from malted barley grain often used for brewing a light-coloured beer. We will be using it to provide the nutrition of the barley grain to our mycelium to expand on. This has the added benefit that when you eventually inoculate grain with your finished agar product it will colonise the grain faster as it already knows how to break down some the nutrients in grains.
Agar – This is a jelly substance that is a solid at room temperature but liquefies at 85c – 100c, this lends a suitable balance between melting and solidifying. It is mixed with nutritious media to provide a growing environment for observing mycelium.
Borosilicate Glass Laboratory Bottle – I recommend getting one of these to sterilize the mixture inside. Once you have sterilized you can leave it in here until you need to use it without risking contamination. Otherwise, you can just use any glass jar or bottle which can be pressure cooked.
Digital Scales – My advice is to get a scale which can go to 1 decimal place as a minimum. This will allow you to measure out more precise/smaller recipe mixtures.
Food Colouring (optional) – This is added to make viewing mycelium growth or contamination easier. Blues, Red and even Black food colouring are good options.
Agar Plates – These are used to contain the nutritious agar media for observing. You can also use these if you need a cheaper alternative.
Tin Foil & Rubber band – To wrap around the top of the bottle.
Water.
Lets begin…
In this guide i am I am going to be creating 10 plates of agar.
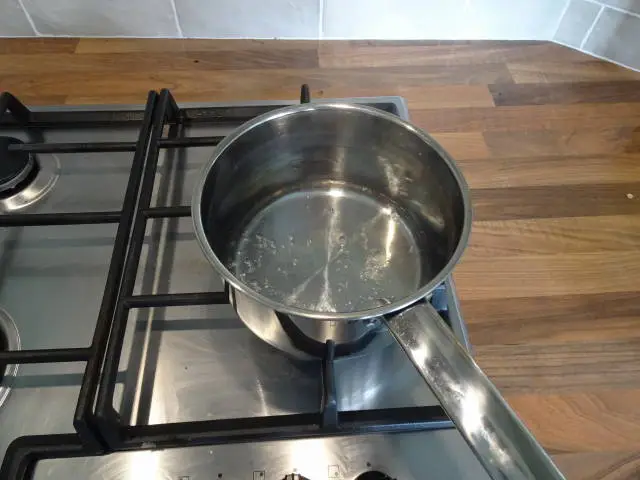
Step 1 – Heat Water.
Heat 250ml of water in a saucepan until it begins boiling.
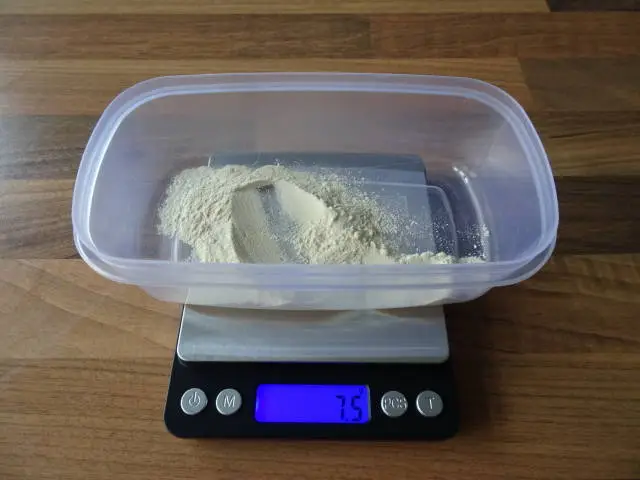
Step 2 – Measure Out Mixture.
Firstly, I measure out 7.5g of Light Malt Extract (LME) using the digital scales.
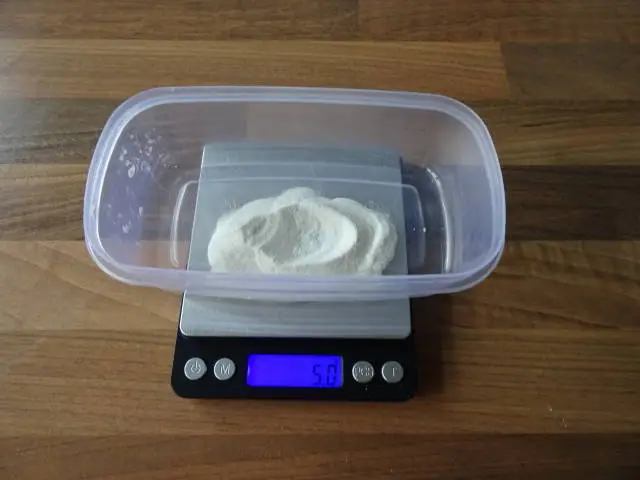
Next, I measured out 5g of Agar into the same container.
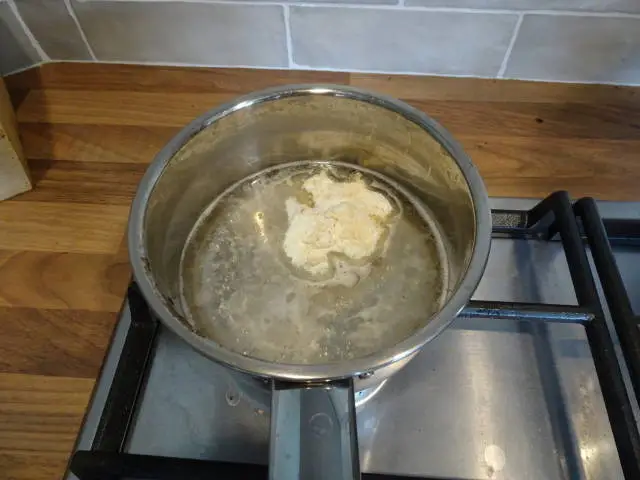
Step 3 – Add Mixture to Boiling Water.
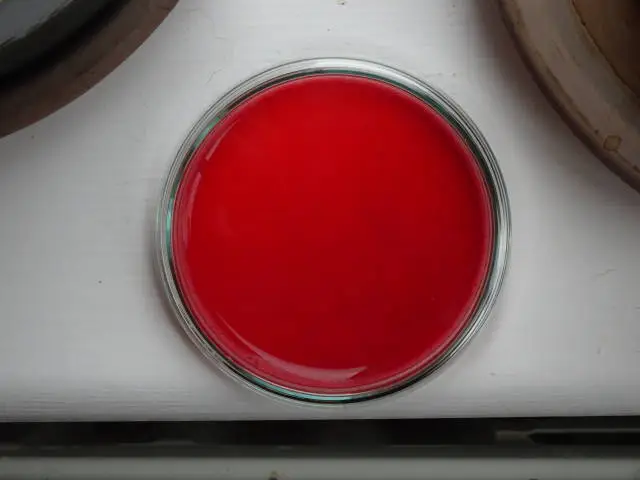
I add the LME + Agar mixture into the boiling water and stir it until it has began dissolving into the mixture. Keep stirring until the mixture begins to froth and bubble as shown here.
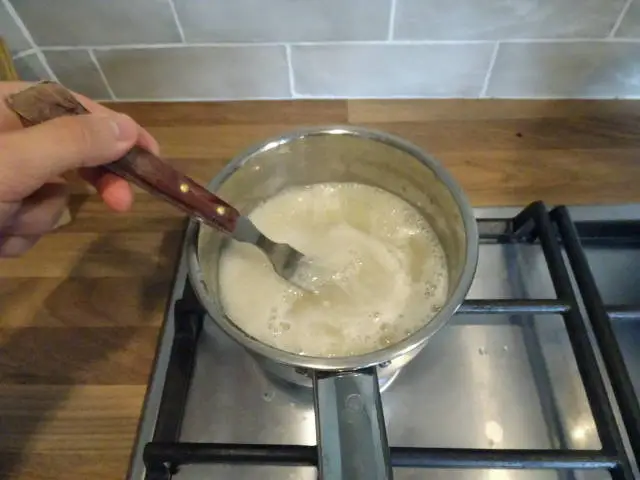
It is important to perform this step, the frothing seen in the picture is the agar activating in the mixture which will allow it to set into a solid block once cooled.
Step 4 – Pour Mixture into Bottle.
Pour the boiling mixture into the glass lab bottle.
This is also the time to add a few drops of food colouring.

Step 5 – Secure the Bottle.
Put the lid on the bottle, then give it a quick shake and stir to ensure the food colouring as mixed in properly.
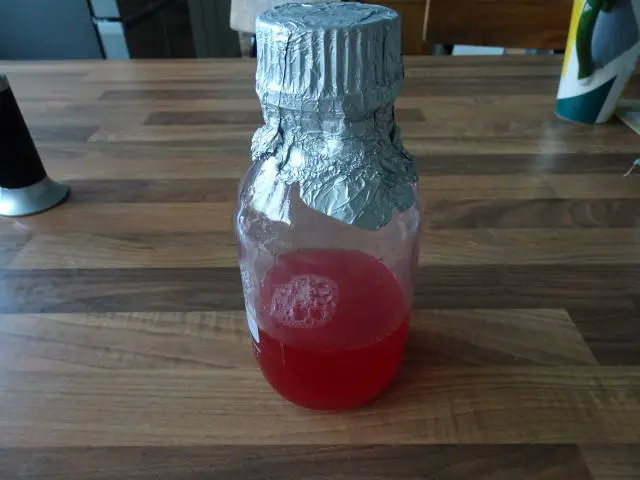
Place tin foil over the top of the jar going about 2 inches down the glass and secure it with a rubber band on the neck of the bottle.
Step 6 – Sterilize.
Finally I place the bottle into my pressure cooker, raise the glass from the bottom of the pressure cooker using jar lids or a rack.
Add the minimum amount of water needed for your pressure cooker, I will be adding 2 quarts jars.
Sterilize the contents at 15 PSI for at least 15 minutes.
Because we are sterilizing a liquid it doesn't need as much time inside the pressure cooker as something like grains.
Step 7 – Wait.
Remove the Borosilicate Glass Laboratory Bottle from the pressure cooker and allow it to cool to the ideal temperature before using it.
If you want to use your agar straight away follow the instructions below to get it to the ideal tempreture for use.
How To Use Malt Extract Agar?
When you are ready to use your agar follow the instructions below. First, you must bring your agar to 55 degrees C or 131F. This is the perfect temperature for pouring agar plates as the liquid solidifies at 50 degrees C.
There are two methods I use to get the agar to the correct temperature.
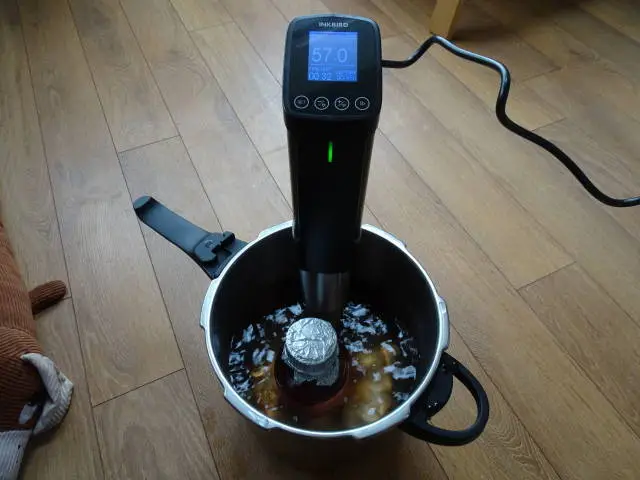
Method 1 – Sous Vide Water Bath.
This is the method I use to bring my agar bottles to 55 degrees C (131F) before use.
Requirements
Sous Vide – This method requires a sous vide which is a small electric cooking device which heats water to precise temperatures without the use of a stove. This device can also be used for preparing substrate as seen here.
A sous vide can also be used for pasteurizing substrates as discussed in this post here, the device manages water temperature for you so you don't have to stand around a stove all day monitoring temps.
Water.
Here is how it works…
First, I will fill a pot or bucket up with water then turn on the sous vide to the desired temperature 55c (131F). Wait until the sous vide indicates the desired temperatures have been reached.
Next, I place my agar bottle into the sous vide for 15 minutes while you prepare your workspace for pouring the agar.
I Remove the agar bottle from the water and wipe off any excess water from the outside of the bottle.
Finally, I pour my agar plates.
In my opinion, a sous vide is worth investing in as it can be used for many things, including pasteurizing substrate and cooking!
However, if you don't want to invest in one you can use the water bath method with a stove and monitor the temperatures using a laser thermometer as described in the section below.
Method 2 – Pressure Cook then monitors with a Laser thermometer.
Requirements
Laser thermometer – This method will require a laser thermometer to monitor the temperature of the bottle, I have chosen this one as it had the highest rating with the most reviews on amazon.
Here is how it works…
I will remove the agar bottle from the pressure cooker whilst wearing oven gloves as the bottle will be extremely hot. I then set it down on a heatproof surface near my workspace.
I monitor the temperatures inside the bottle using the laser thermometer.
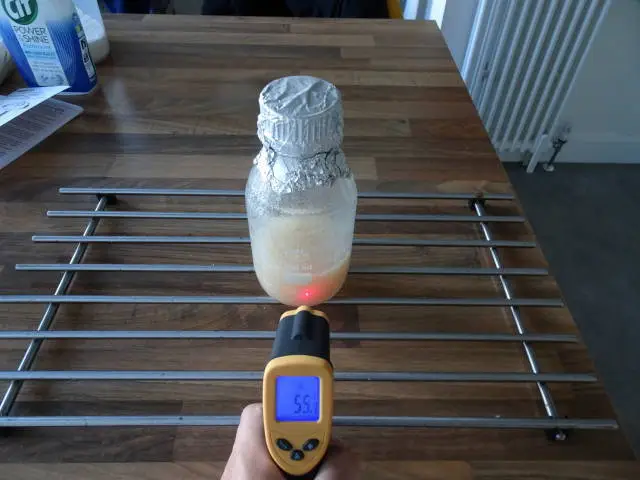
Finally, I pour the agar when it gets close to 55 degrees C (131F).
Note: In the event that you let your agar to set again after sterilization then the agar will need to be reheated to temperatures of 80c – 100c to liquidize again. I usually just re sterilize it, then use one of these methods above to pour when ready.


