
Growing Mushrooms in Jars: A Step-by-Step Guide.
If you’ve ever wanted to try your hand at growing mushrooms, but don’t have the space for a full-scale grow room, then growing mushrooms in jars is the perfect technique.
It’s a great way to get your feet wet and learn the basics of mushroom cultivation before investing in a larger growing system. Plus, it’s a fun and easy project to do with kids!
In this article, we’ll walk you through the steps of growing mushrooms in jars, from gathering the supplies you’ll need to harvesting your mushrooms. Let’s get started!
Gathering Your Supplies
The first step in growing mushrooms in jars is to gather your supplies.
You’ll need:
Glass Jars with lids at least 1 litre capacity (ensure you create gas exchange holes).
Aspen Reptile Bedding (honestly I think this is the best bulk substrate for jars due to the space it gives the mycelium).
Cereal Containers (use this for pasteruization).
Once you’ve gathered all your supplies, you’re ready to move on to the next step.
Preparing the Substrate
The substrate is essentially the food source for your mushrooms. For this method, we will use a combination of grain spawn and aspen reptile bedding.
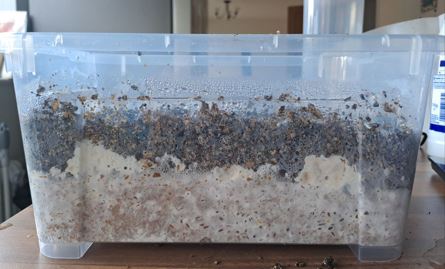
Begin by soaking the aspen reptile bedding in a container,I like to use polypropylene cereal containers described above, I soak the aspen for an hour or two then drain and squeeze it until the water from it comes out.
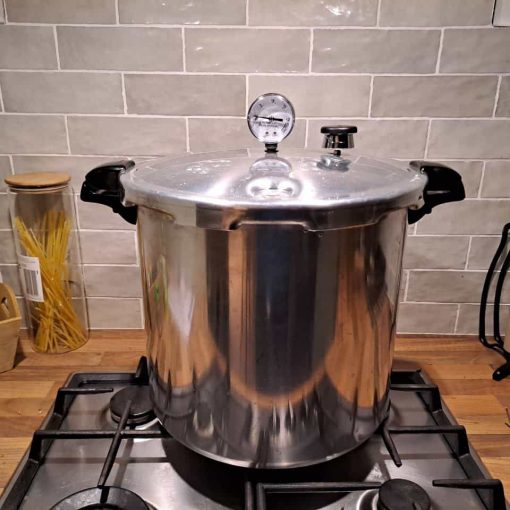
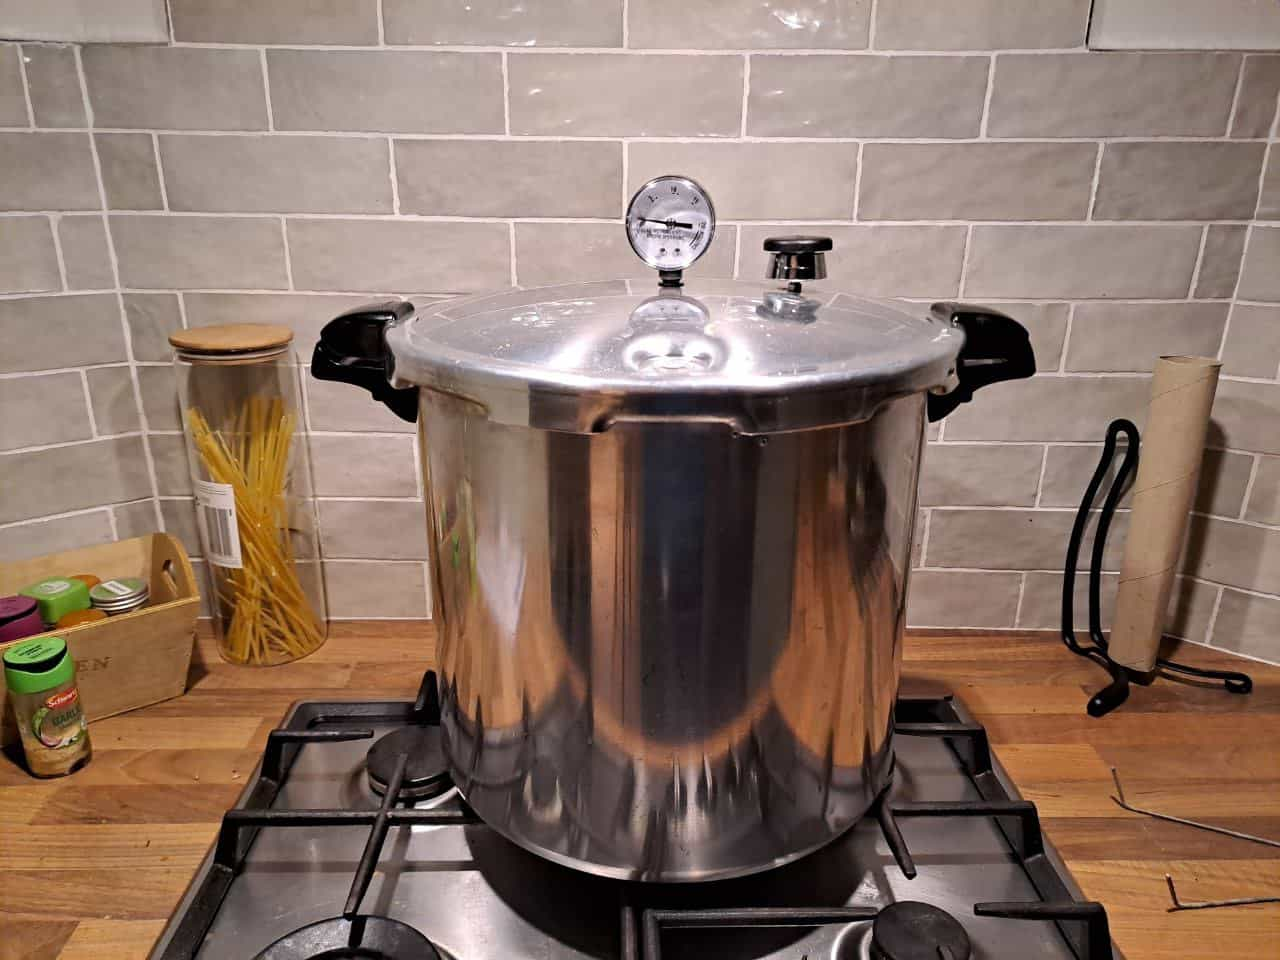
Next pasteurize the substrate at 140F-170F on a stove. I highly recommend reading the technique I use for hot water pasteurization using polypropylene cereal containers.
Here is a quick overview:
- Firstly, take a large pot and line the bottom of it with jar lids or a similar item. I use jar lids because they’re readily available and they do the job perfectly.
- Gently place the containers on top of the jar lids, ensuring stability.
- Fill the pot with water until it reaches about 1/3 of the height of the substrate in the containers.
- Crank up the stove to full heat and allow the water to boil. I usually place something on top of the containers to prevent them from moving around too much due to the bubbling water.
- Set your thermometer alarm to 140°F or 60°C.
- When the alarm sounds, switch off the stove and set a timer for 60 minutes.
- Re-set your thermometer alarm, this time to 170°F or 76°C.
Once complete allow the substrate to cool (preferably overnight) and prepare for inoculation.
Inoculating the Jars
First thing I normally do is clean out all the jars using a strong bleach mixed with hot water. I fill each jar up and then allow it to sit for a few hours. I do the same for the jar lids as well we wan’t to ensure they are sanitised before use.
Next I put my jars into the dishwasher and run it for an intensive cycle. When this has completed I will dry out the jars.
I take a microfibre towel (the quick drying kind) and put it into the washing machine and run it for a short cycle at 40 degrees, then spin dry it. When it comes out of the washing machine it should be slightly damp but not wet.
While this is working I break up the grain jars by banging them against something soft.
Wearing your gloves and facemask to ensure a sterile environment. I give my work space a spray down with cleaning bleach and then place this microfibre towel over my work space.
Next we place grain spawn jars, clean fruiting jars and pasteruized aspen (in containers) on top of the cleaned, damp towel.
Take a hand full of aspen and place it into the fruiting jars then sprinkle some grain spawn on top in a layered fashion.
Place the lid onto each jar, ensuring the gas exchange holes are not obstructed.
Incubate the Mycelium.
Place the inoculated jars in a undisturbed and warm place, ideally between 68–75°F (20-24°C).
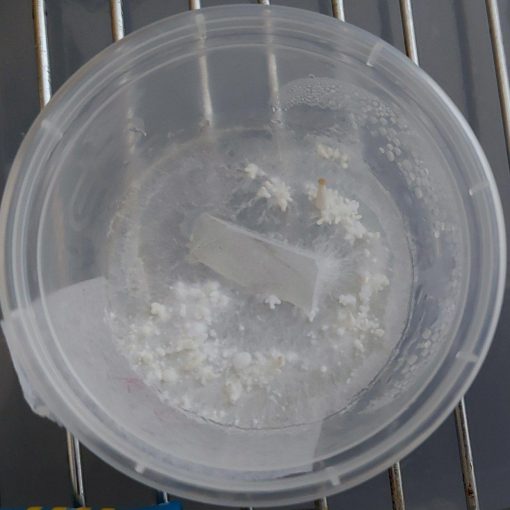
Check on the jars every few days. After a week or two, you should start to see white, fluffy growth – this is the mycelium.
Continue to incubate the jars until the mycelium has fully colonized the substrate, which might take several weeks, this is normally strain dependent though.
Fruiting the Jars.
Once colonization is complete, it's time to induce fruiting. Move the jars to a location with cooler temperatures, about 68°F (18°C) is good for most strains but this again is dependent on the mushrooms you are growing.
Open the lids slightly to allow more air exchange but leave the lid on top of the jar for a few days until you see pins forming, alternatively you can use a casing layer.
As the pins form into proper mushrooms remove the jar lid completely and begin spraying them lightly with water, alternatively you can just run a humidifier beside them twice a day for a few minutes.
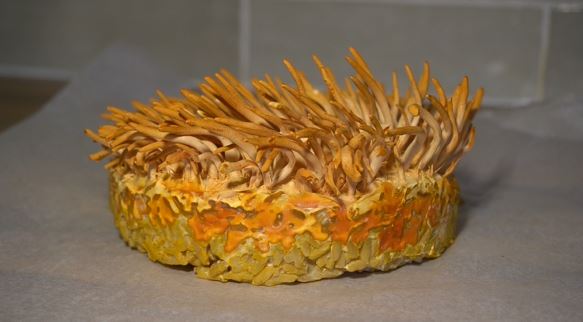
Within a few weeks the mushrooms should fully form out of the top of the jar.
Store the mushrooms in a paper bag or airtight container in the fridge for up to a week.
Which Mushrooms can be Grown In Jars?
Here is a list of mushrooms which are commonly cultivated in jars, which will be easy for someone growing at home:
- King Oyster Mushroom: Highly prized for its meaty texture and umami flavor, the King Oyster Mushroom is robust and grows larger than most oyster varieties, making it a favorite for culinary applications.
- Lions Mane (Jar Grow): Beyond its unique appearance resembling a mane, Lions Mane is sought after for both its seafood-like flavour and potential cognitive health benefits.
- Freckled Chestnut: Also known as the Nameko mushroom, the Freckled Chestnut boasts a gelatinous cap which provides a unique, slightly sticky texture. It's frequently used in traditional Japanese miso soup.
- Piopino: Known as the Black Poplar or Velvet Pioppino, this mushroom has a delicate, nutty flavor and is loved for its ability to grow on a variety of substrates, often appearing in clusters.
- Enoki: Recognizable by their long, slender stems and tiny white caps, Enoki mushrooms have a mild, crisp texture. They're often used in salads and soups and are a staple in Asian cuisine.
- Maitake: Also known as Hen of the Woods, Maitake mushrooms grow in large, ruffled clusters and are praised for their earthy flavor, succulent texture, and potential medicinal properties.
Conclusion
Growing mushrooms in jars is a great way to learn how to grow mushrooms and does not require a lot of space. Make sure to select strains which are popularly grown in jars and you should have good success.
While it requires patience and a bit of care, the end results are well worth the effort. Not only do you get fresh mushrooms, but you also gain a deeper understanding of the fungal kingdom and its cultivation processes.
Whether you're a hobbyist or looking to scale up, this method provides a solid foundation for mushroom cultivation using jars.
Happy growing!
