
Introduction
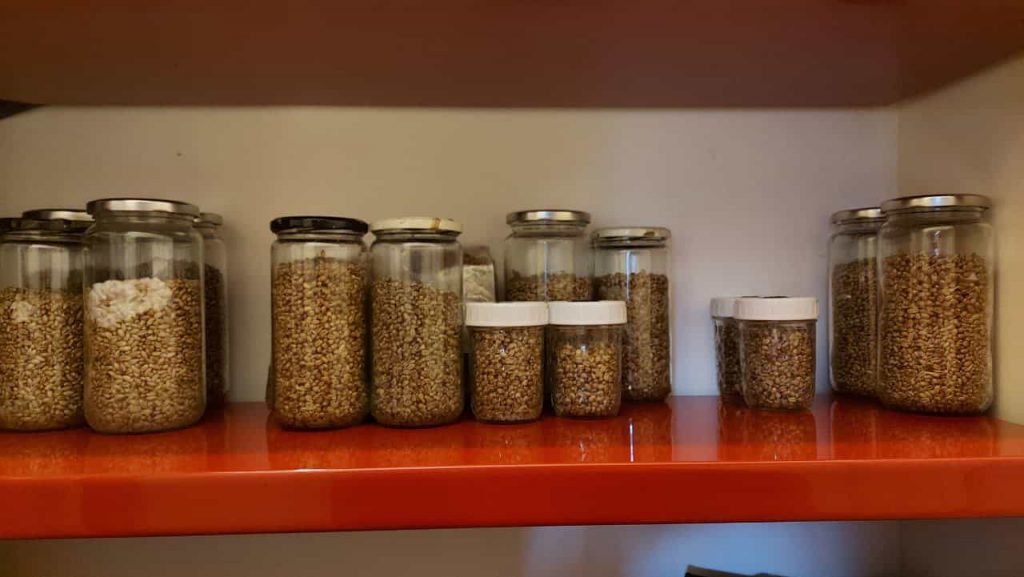
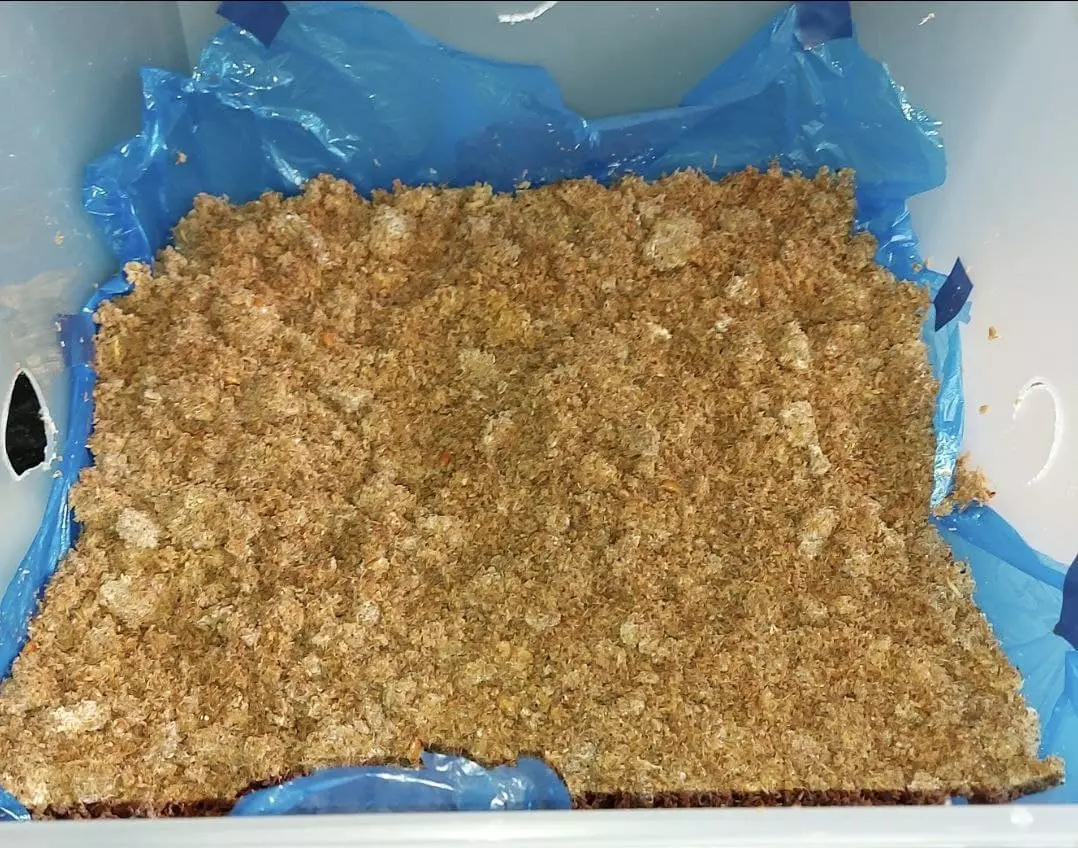
Grain spawn is the material used to grow mushrooms after the spores have been germinated and expanded.
The grain spawn is inoculated with mushroom mycelium and incubated (left alone) until the mycelium engulfs the spawn and reaches 100% colonization.
The mushroom mycelium is then transferred to a bulk substrate, expanding the mycelium before the mycelium is placed into fruiting conditions and mushrooms can be harvested.
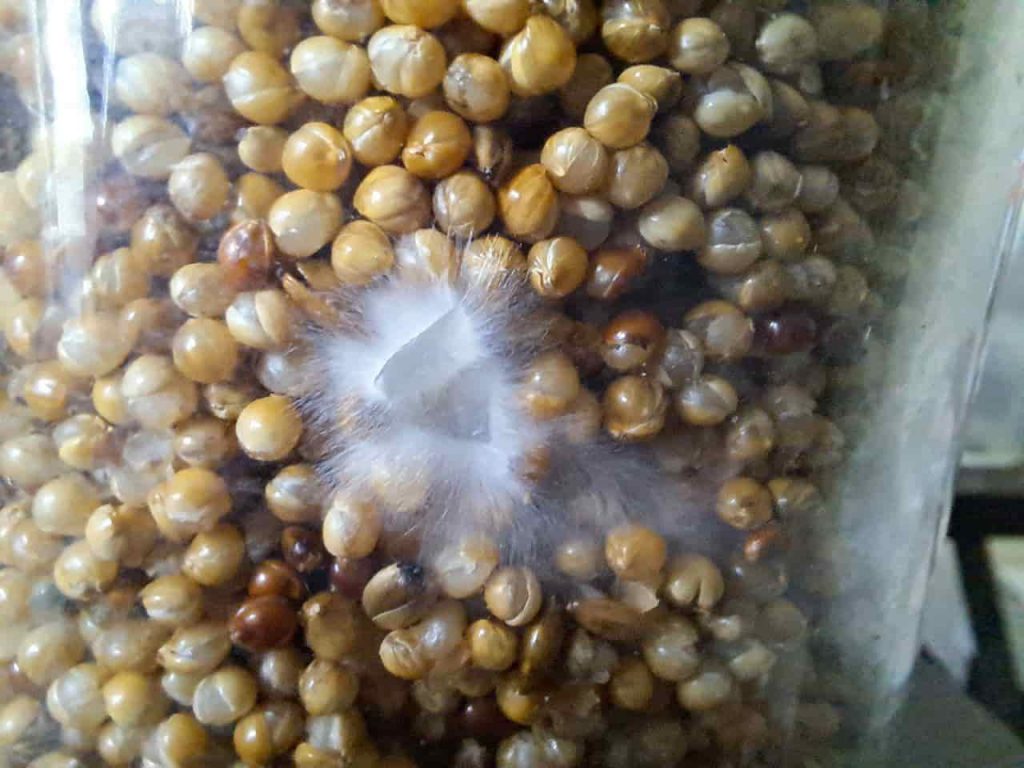
Creating spawn using grain can be difficult because you are working with a highly nutritious substrate which increases the risk of contamination.
It took me a lot of failures before I could make consistent grain spawn, so make sure you sterilize plenty of jars at once to ensure you get a lot of practice.
What is Grain Spawn?
Grain spawn is simply any grain based substrate that has been colonized by mycelium and can be used to inoculate other substrates.
Most grain spawns are made with rye, wheat, or millet, but any grain can be used.
The grain is boiled to hydrate the grain (the water is soaked up into the grain making it larger) then cooled.
This allows excess moisture to evaporate from the outside before sterilizing.
How to Make Grain Spawn?
In this guide I will be discussing how to inoculate grain spawn. This can be done for several of grains, some of which I have written preperation guides such as:
- Popcorn grain spawn preperation for mushroom spawn.
- Rye/Wheat Grain Spawn (I have a detailed guide here).
- Millet grain spawn preperation for mushroom spawn.
- Wild Bird Seed (WBS).
I use the following items when preparing grains:
- Shopping list for grain prep.
- Pressure cooker (pressure cookers for mycology).
- Gas Exchange lids.
- Tin Foil / Rubber band.
Step 1. Prepare Your Grains.
Note: This is only a brief run through, the links above are more detailed.
To make grain spawn, start by rinsing and washing your grains under a tap to get off any excess dust or pieces.
Next, soak the grain overnight to allow the the grains to absorb water whilst also germinating any endospores which may be present in the grain.
Some people consider this optional but I do it just in case.
Basically, we do this to germinate any tough spores which would otherwise survive the sterilization process.
Alongside this, it helps to hydrate the grains reducing the boil time.
Boil the desired grain in water for 10-20 minutes.
After boiling, let the grain cool on a baking tray (or any large surface area surface) so that all the moisture on the outside of the grains has evaporated.
Step 2. Sterilize Your Grains.
Once the grain has cooled, it is time to sterilize. To do this you are going to need a pressure cooker, if you don't already have one read about my top picks for pressure cooker for mushroom cultivation.
If you don't want to invest in a pressure cooker checkout this post which includes how to make grain spawn without a pressure cooker.
Place your grain in jars, I like to leave about 3 inches at the top of each jar (this is important if you want to shake your jars).
Screw on the lids then place tin foil over the top of each jar and secure with an elastic band.
Pour about 2 quart mason jars of water into your pressure cooker and place the rack inside.
Carefully place your jars on the rack, making sure that they don't touch the sides of the jar as you may risk burning the grain through heat transfer.
Put the lid on your pressure cooker, making sure that the release valve is in the correct position, and turn on the heat.
Once the pressure cooker has reached 15 PSI, reduce the heat to maintain this pressure and start a timer for 90 minutes.
Note: Generally a good rule of thumb for how long to pressure cooker grain spawn is 90 minutes this will sterilize every type of grain.
Once the time is up, remove the pressure cooker from the heat.
Next I like to allow it to cool overnight, this ensures the pressure has dropped and you can open the lid safely but also it allows the temperature inside the jars to cool fully before opening the pressure cooker.
If you open a pressure cooker too early you risk contamination due to air currents caused by fast cooling jars in open air.
Step 3. Inoculate.
Once the jars have cooled, it's time for inoculation.
The process of inoculation is where you introduce the mycelium to the grain spawn to expand rapidly.
During inoculation it is important to use sterile technique.
In this post I am going to be using a still air box (SAB), but a laminar flow hood would also work.
The bare minimum you must do to perform the inoculation under sterile condition are:
- Wear rubber gloves and a face mask. Wipe down your gloves with alcohol solution.
- Spray down your still air box with soapy water.
- Move all grain jars into a still air box. Wipe down all jars going into the SAB with alcohol.
- Wipe down the top of your jars with alcohol before inoculation.
- Wipe down everything that goes into the SAB with alcohol before it enters (including your hands).
- Flame sterilize your Liquid culture syringe Or scalpel before use.
Make sure that you work quickly but also carefully as to not contaminate your grain or SAB by making erratic movements causing excess air flow.
Everything has to be done smoothly but at pace.
To inoculate grain you can use a liquid culture syringe or a mycelium culture on agar.
I have described methods for both of these techniques below:
Option 1 – Liquid Culture Inoculation In A Still Air Box.
I use the following items when Inoculating grain spawn with liquid culture:
Still Air Box Or Laminar Flow Hood.
Shopping list for grain inoculation.
Soapy Water.
Spray bottle.
Prepare your still air box and place all the items you are using into the still air box and close it.

Flame sterilize your needle until glowing red, the easiest way to do that is to purchase a small butane torch like this.
Whilst the needle is glowing move it back into the still air box through the holes.
Place the syringe on top of your jars so the needle is not touching the bottom of the SAB.
Grab your alcohol and wipe down your hands (as they were just outside) then wipe down the barrel of the syringe.
Remove the tin foil off the top of the lid of the grain jar you are about to inoculate.
Wipe down the top of the jar lid with alcohol.
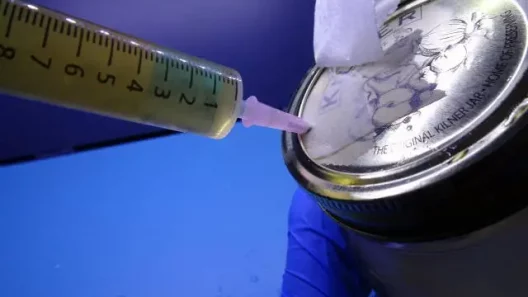
Now place the needle through the hole in the lid being careful not to touch anything else, and inject 1ml of solution into the jar.
If you don't have a hole to inoculate through, carefully remove the lid then inject 1ml solution into the jar.

Repeat this process for each jar.
Option 2 – Agar Inoculation In A Still Air Box.
I use the following items when Inoculating grain spawn with agar:
Still Air Box Or Laminar Flow Hood.
Mycelium on agar.
Butane Torch – this really speeds up flame sterilization would 100% recommend one.
Rubbing alcohol or alcohol wipes.
Soapy Water.
Spray bottle.
Prepare your still air box and place all items inside it following the sterile practice described earlier.
Remove the tin foil from the lids of your jars and loosen the lids.
Flame sterilize your scalpel outside of the still air box using the butane torch until the tip of the blade is glowing red.
Move the scalpel back inside the still air box, wipe the handle of the scalpel with alcohol and place it on top of one of your jars so the tip is not touching any surfaces.
Wipe down your hands with rubbing alcohol inside the still air box.
Remove tinfoil and parafilm from your agar plates carefully and place them to the side.
Using the scalpel cut out a small piece of mycelium from the agar plate and transfer it into the grain jar.
Transfers should be quick and smooth without erratic movements
Repeat this process for each jar.
Step 6. Incubation (the waiting game).
Now the hard part, you have to wait for the mycelium to colonize the grain spawn.
This can take anywhere from 1 week to 4 weeks depending on species and conditions.
During this time it's important not to open the jars as this will introduce contaminants which could ruin your spawn.
I normally put my jars somewhere without much foot traffic like a room temperature cupboard or on the top of the kitchen cabinet where people are not going to constantly go past it.
Also having them out of reach prevents someone from accidentally opening them OR you impatiently checking them every day putting your dirty hands on them.
Wrap Up
Hopefully you’re feeling more confident about making grain spawn after reading.
My biggest advice is just keep trying if you fail and prepare many jars so you get lots of practice.
This is one of the reasons people advise buying the largest pressure cooker possible so you can play the numbers game.
You may not get it right the first time but if you have plenty of practice, analyse your sterile technique and sterilization procedures after each try, eventually you will start having less and less contamination.


