
In this post, I am going to discuss how you would use a pressure cooker to sterilize grain spawn jars, mushroom substrate, liquid culture or other growing utensils.
I will be using my Presto 23 Qt Pressure Cooker for this discussion.
If you haven’t got a pressure cooker yet checkout my post on the best pressure cookers for an in depth analysis.
Whether you're an experienced mushroom cultivator or new to the hobby, this guide will provide you with the information you need to successfully use a pressure cooker to grow mushrooms at home.
So, let's get started!
Pressure Cooker Sterilization Times
Below is a quick chart for reference on sterilization times for different items you may be preparing. Here is guidance on how long to pressure cooker them.
| Mycology Technique | Time (Once 15 psi reached) |
|---|---|
| PF-Tek | 90 Minutes |
| Grain Spawn Jars | 90 Minutes |
| Liquid Culture | 30 Minutes |
| Agar | 30 Minutes |
| Large Grain Bag | 2 Hours |
| Large Substrate Bag | 2.5 Hours |
How To Use A Pressure Cooker For Sterilization.
In this section I will show you how to use a pressure cooker for sterilization of mushroom substrates, including the necessary equipment, steps, and safety precautions.
Let's get started with learning how to sterilize in a safe and effective way using a pressure cooker.
Step 1 – Examine Pressure cooker.
As discussed in most pressure cooker user manuals it is usually a good idea to inspect your pressure cooker every time before use.
Failing parts could be dangerous.
These are the things I like to check before beginning:
Cleanliness – Is the pressure cooker free from residue and build up, particularly around the inside of the lids.
Clear safety valve – Is the safety valve clear and working correctly? When the items I am sterilizing are inside the pressure cooker does it block the safety valve?
Clear Air Vent – Take your lid and have a quick look down your air vent make sure you can see light on the other side (it's not blocked).
Rubber sealing ring – Is this clean and free from residue? Is there any damage to the ring which may cause leaks? Is underneath the ring clean?
Opening/Closing mechanism – Is this working as intended and free of obstructions (such as your jars).
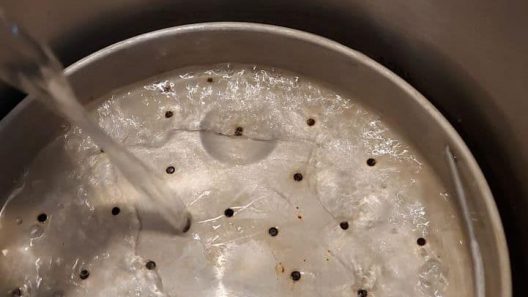
Step 2 – Fill The Pressure Cooker With Water.
Add 3 quart jars of water to complete a 90 minute cycle.
This is how much water you will need in your pressure cooker for:
- Pf-tek.
- Grain spawn jars.
- Liquid culture.
- Agar.
Once you become more confident with the pressure cooker you can work with smaller volumes of water in the pressure cooker as you learn how to maintain pressure without drying the cooker out.
Step 3 – Insert Items.
First place the pressure cooker rack on the bottom of the unit.
NOTE: If you don’t have a rack you can line the bottom of the cooker with the rings from spare mason jars or a wet kitchen towel. The main purpose is to raise the items from the bottom of the cooker to avoid them from contact burning.
Next, place items into a pressure cooker, ensuring the lids are covered with foil.
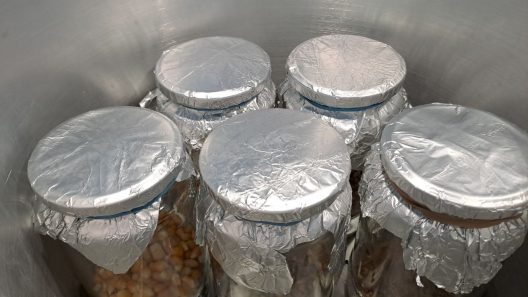
Ensure that your items are not touching the perimeters of the pressure cooker. Some people like to put a damp cloth around the outside of the items to ensure a barrier remains.
Step 4 – Seal The Pressure Cooker.
Perform one last check of the presto 23 quart lid, mechanism, and the contents inside.
Place the pressure cooker lid on the pressure cooker and turn until the lid closes.
Step 5 – Vent the Pressure Cooker.
Turn on your stove at full temperature to allow the pressure cooker to heat fully.
When the pressure has built to an appropriate amount the “TOP” valve on a presto pressure cooker will pop up.
Venting Phase: As the cooker heats up, steam will begin to emit from the vent. It's important to allow this steam to flow steadily and freely, often for a recommended duration of around 10 minutes. This consistent, cone-like outflow of steam is crucial for ensuring the complete removal of air, thereby filling the cooker entirely with steam.
If the steam is only escaping intermittently, a different approach is needed. Place the weight on the vent to build pressure, aiming for just above 5 psi.
After achieving this pressure, remove the weight and allow the cooker to vent continuously. This step, which should also last for about 10 minutes, is essential for expelling all the air from the pressure cooker, thereby ensuring thorough sterilization.
Step 6 – Heat The Cooker Until 15 psi.
Once venting has completed add the weight regulator to the top of the pressure cooker.
Turn on your stove at full temperature to allow the pressure cooker to heat fully.

From here wait for the pressure regulator to reach 15psi. This normally takes about 5 minutes and you will hear the weight regulator start to rattle once we reach it.
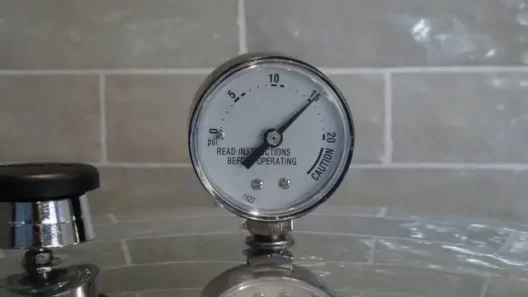
Turn down the stove onto the lower setting to maintain this pressure.
Leave the pressure cooker sterilize for the alloted time scale.
Remember to intermittently check on it as a precaution.
Once finished turn off the heat and allow the pressure cooker to cool for a few hours before removing jars.
Step 7 – Clean After Each Use.
Once you have finished with your pressure cooker, clean it to ensure it is ready for the next use.
This will also reduce the cleaning and checking needed for the next time you use it.
It is always a good idea to maintain the most prized possession in your mushroom cultivation arsenal, so look after your pressure cooker and always refer to the manual first.
What Materials Can Be Used Inside A Pressure Cooker?
It is always best to refer to the manual for this sort of information before taking advice on the internet.
However….
I can tell you a few items which I regularly use inside my Pressure Cooker without issues:
- Glass Jars/Beakers – I use these all the time while making grain Jars.
- Mushroom Cultivation bags – Designed for pressure cooking.
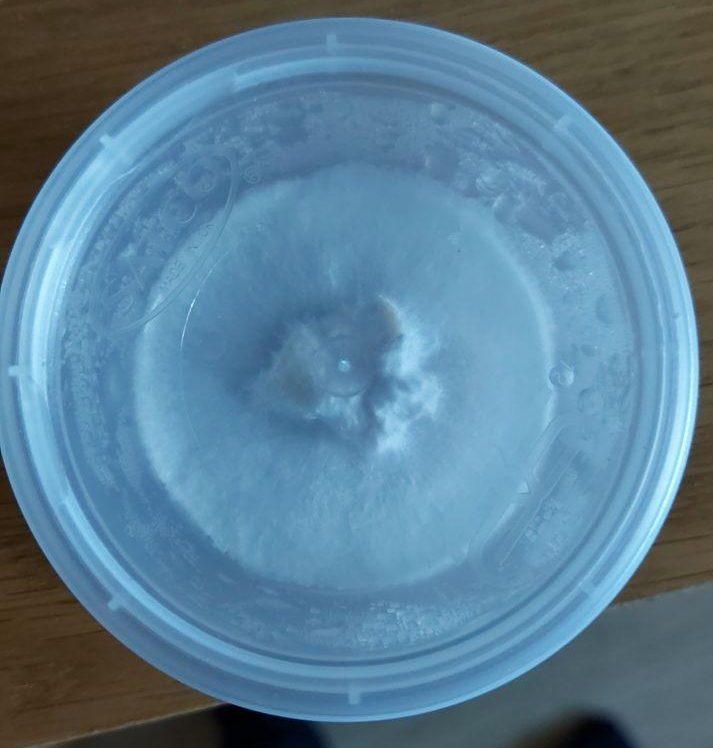
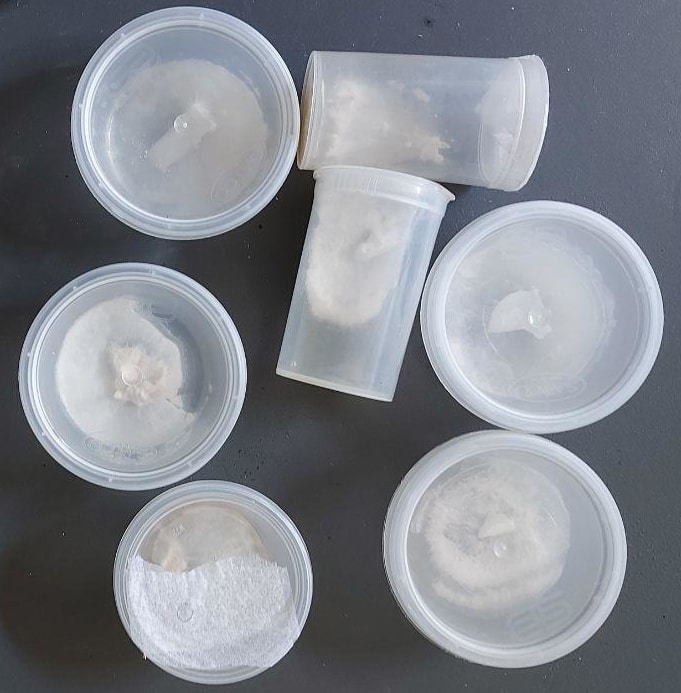
- Plastic containers that display the 5PP symbol as shown here.
- Turkey Bags – I use this for sterilizing/pasteurizing bulk substrates as I can reuse them.
- Tinfoil and elastic bands – These always go over the top of the Jars I'm using.
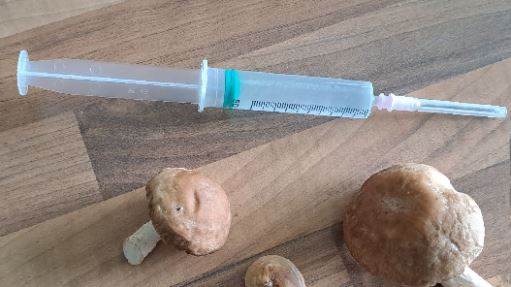
- Syringes – These can be sterilized when wrapped in tin foil however there are easier methods out there for this.
- Poly Fill/Micropore Tape/EZ felt (with RTV silicone) – These generally make up the contamination barrier on my lids.
Can Micropore Tape Go In The Pressure Cooker?
Yes micropore tape can be put on top of your jars and placed into the pressure cooker then sterilized.
Ensure you have foil covering it so that excess water doesn't soak into the tape, then wick into the jars.
Conclusion.
Hopefully you now have a better understanding of pressure cooker sterilization times and how to use a pressure cooker sterilizing mushroom substrate.
Checkout the recommended equipment section for breakdowns on equipment such as:

One thought on “How To Use A Pressure Cooker For Mushroom Cultivation”
Preparing rye grain , step #3 , cook grains for 10-20 min or 20-30 minutes